VOTE FOR ME to win the Jetset Magazine Cover Model Contest!
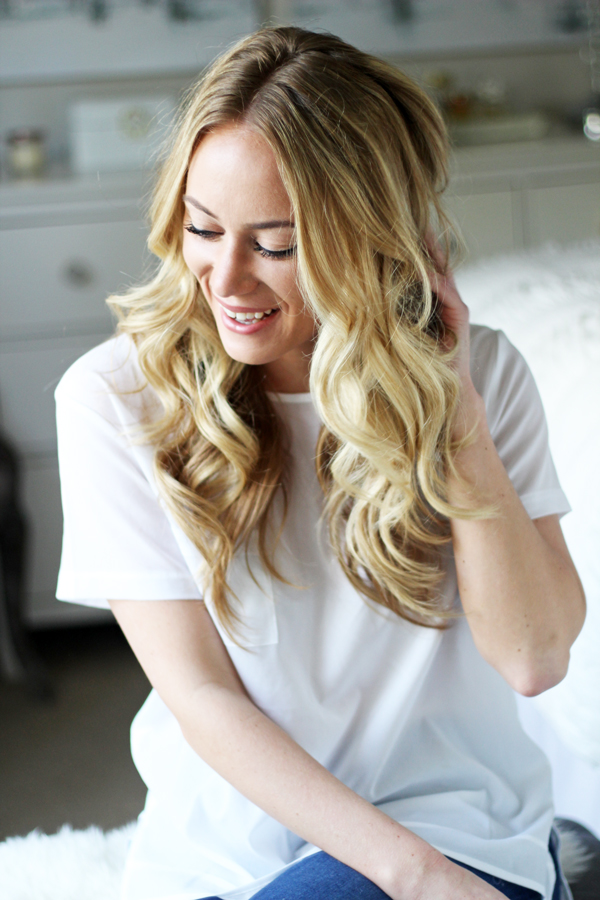
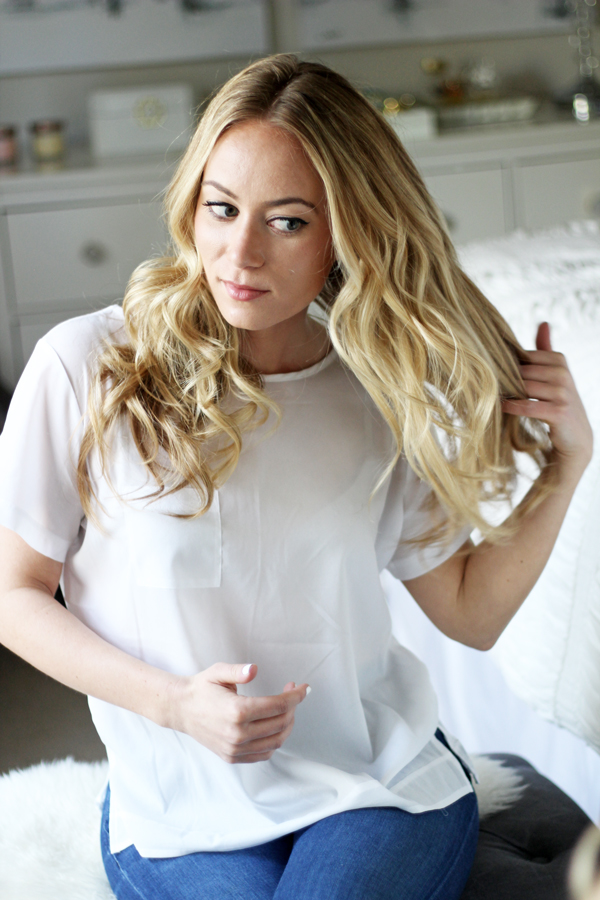
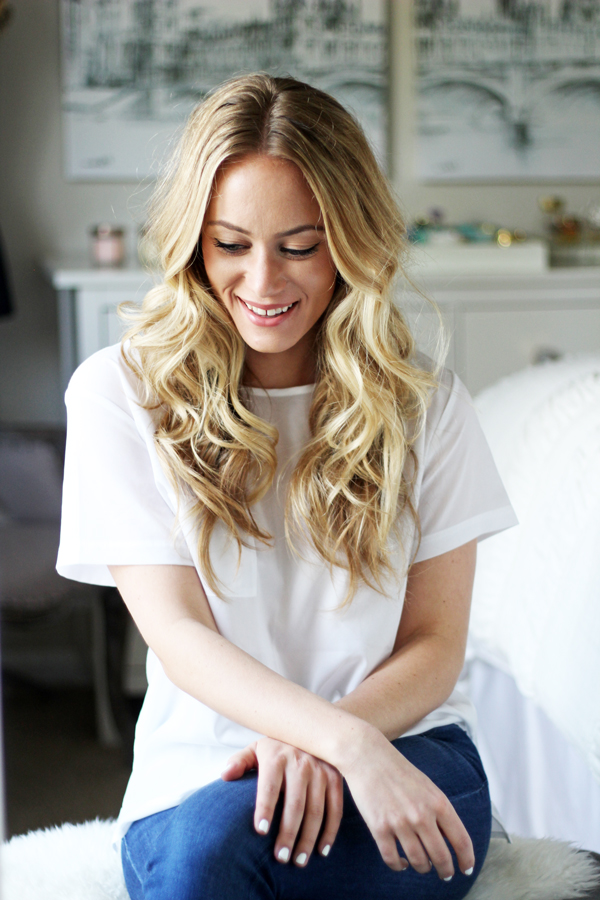
I am finally sharing a tutorial on how to get my signature waves. This post is basically five years overdue, but better late than never, right?! I get countless questions about how to achieve my effortless yet glam waves, and I’m finally spilling the beans. Follow along step by step below, and please feel free to leave any questions in the comments!
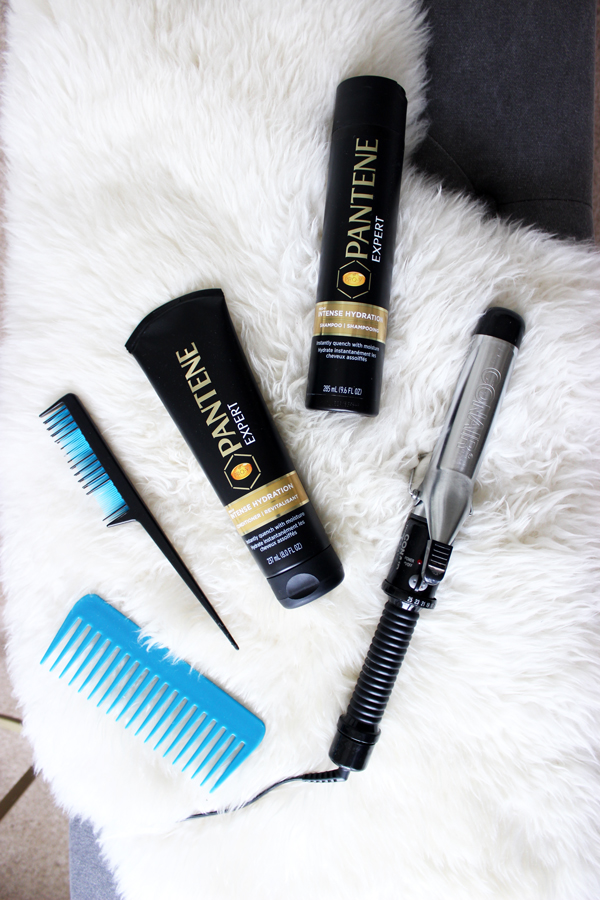
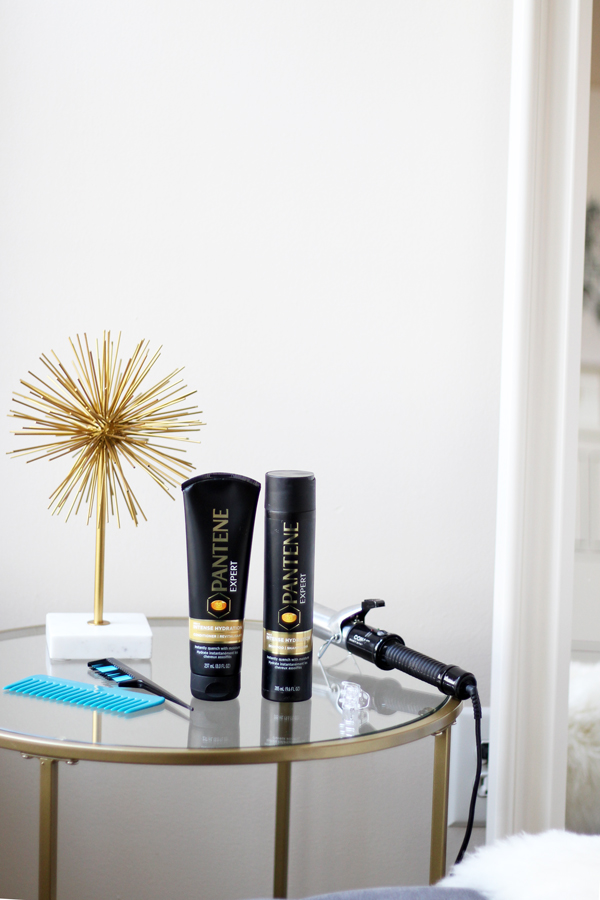
PRODUCTS
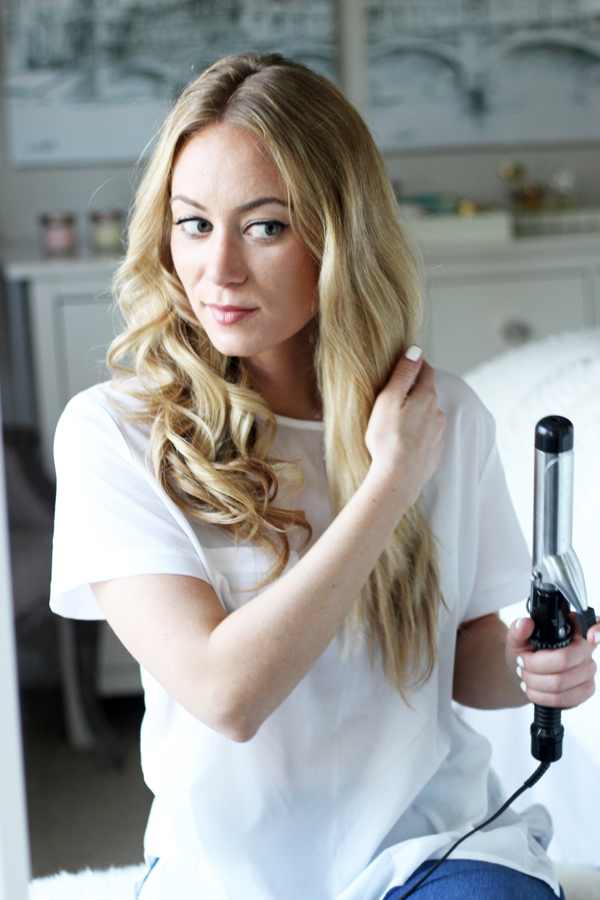
- Conair 1.25 Curling Iron – Everyone raves about really expensive curling irons, but to be honest – I don’t think it’s necessary! I’ve had this Conair iron for 5 years. And it’s $12.
- Teaser Brush (yes, I’m aware I need to get a new one, haha!)
- Comb/Pick
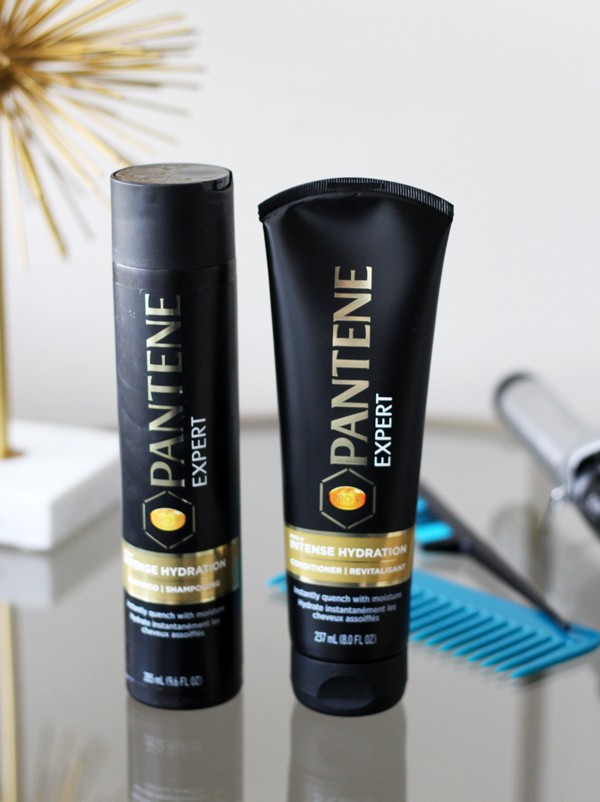
- Pantene Expert Intense Hydration Shampoo/Conditioner – hair care is incredibly key to achieving the perfect look! More on that below.
SHOP THE PRODUCTS
PREP
Your hair care and prep is so important for getting the look you want with your hair. Make sure your hair is 100% dry when you curl it – you don’t want a hot curling iron touching damp or only 85% dry hair! I happen to rarely ever blow dry my hair, and always let it air dry. It’s one less heat tool on my hair and keeps it healthy. Air drying also keeps your natural wave in your hair, making it easier to hold a curl.
As for washing, I tend to only wash my hair a few times a week to keep it hydrated and voluminous. Depending on your hair type and personal preference, you may wash more or even less! The Pantene Expert Intense Hydration Shampoo and Conditioner are great products to use no matter how many times you wash your hair. This combo infuses the hair with moisture and keeps it locked it until your next wash. I tend to change up my shampoo/conditioner with the seasons and in the warmer months reach for a hydrating shampoo/conditioner. When you’re in the sun or chlorine pools on a regular basis, you need the Intense Hydration to keep your hair from being sun fried and dried out. Rather than waiting for my hair to be dry and flat come summer, I’ve gotten a head start this spring by using the Intense Hydration Shampoo and Conditioner. It leaves my hair feeling moisturized, full, and bouncy – ready to curl and go!
STEP ONE
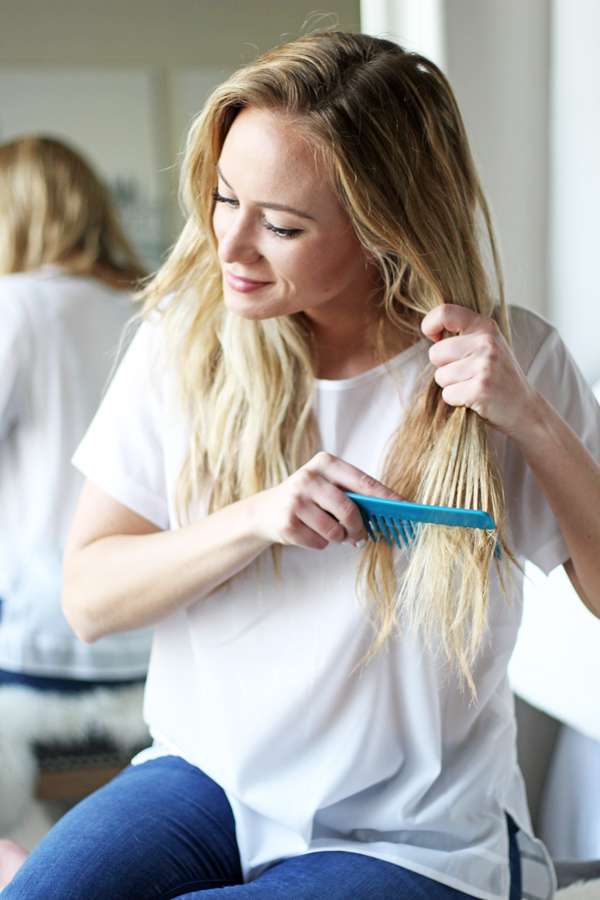
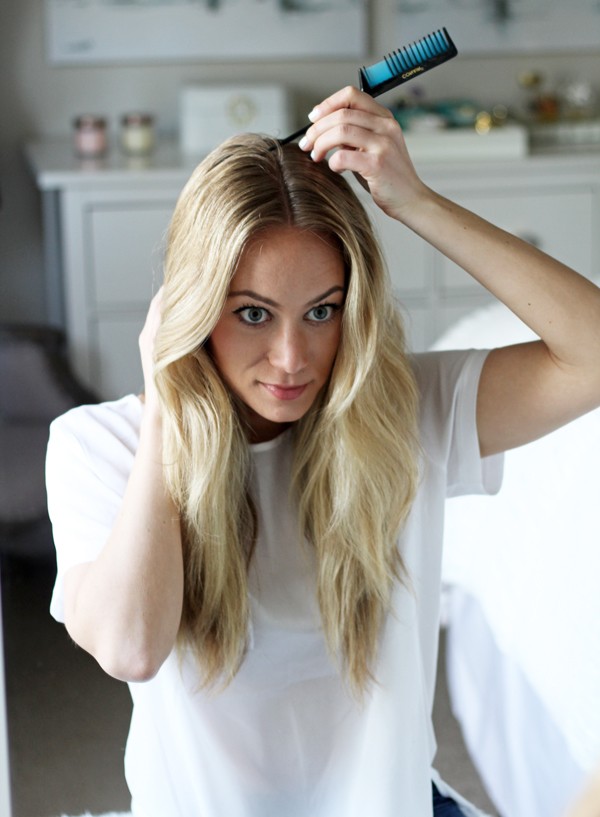
Since I let my hair air dry, my first step is always to comb it out to get any little knots or excess hair out before curling. Next, you’ll want to part your hair wherever you style your hair (I do the middle). Parting before curling is key – since you want to curl your hair where it will ultimately end up being styled.
STEP TWO
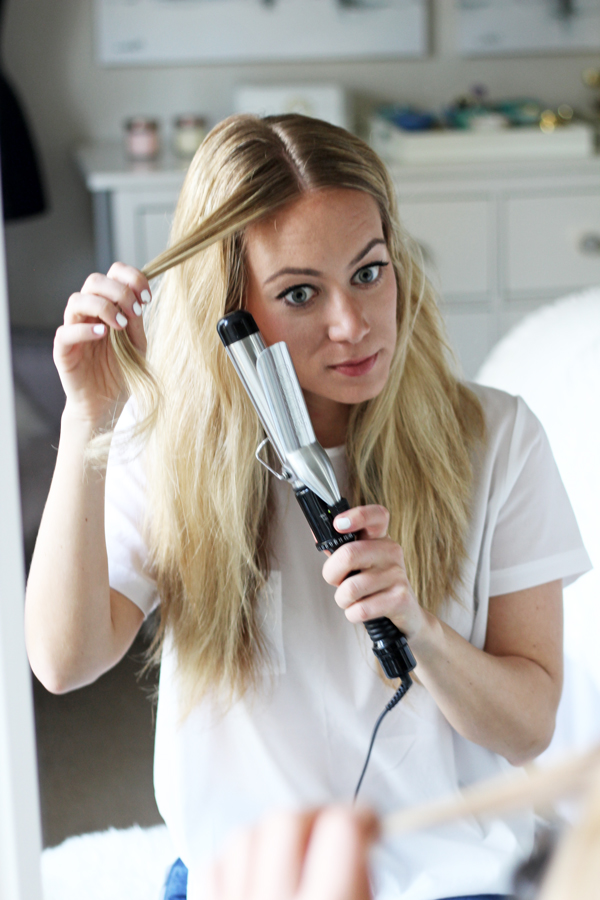
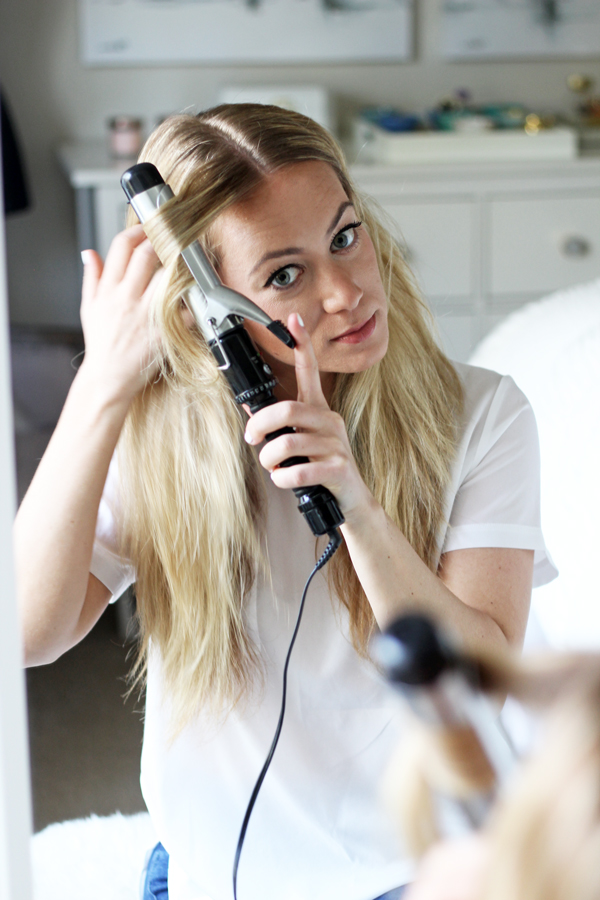
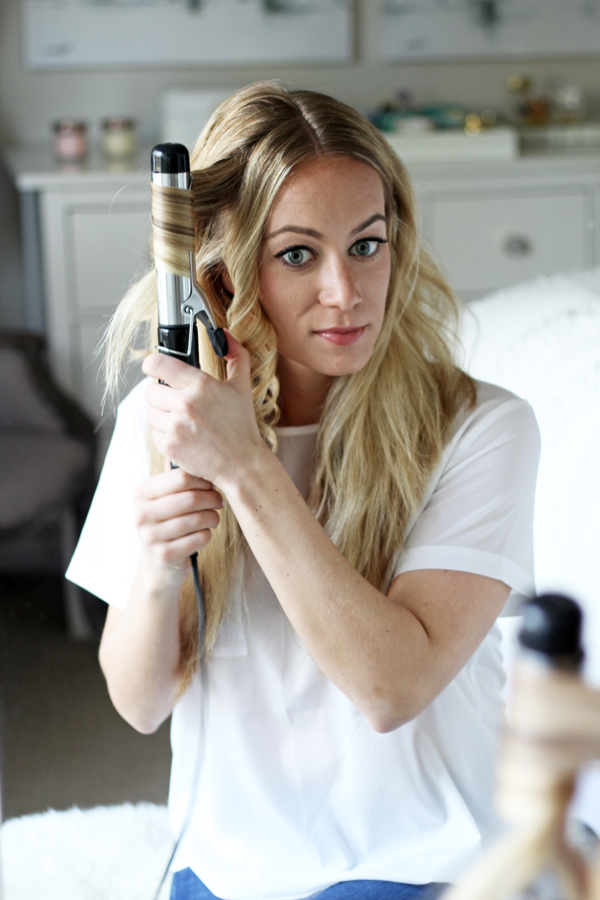
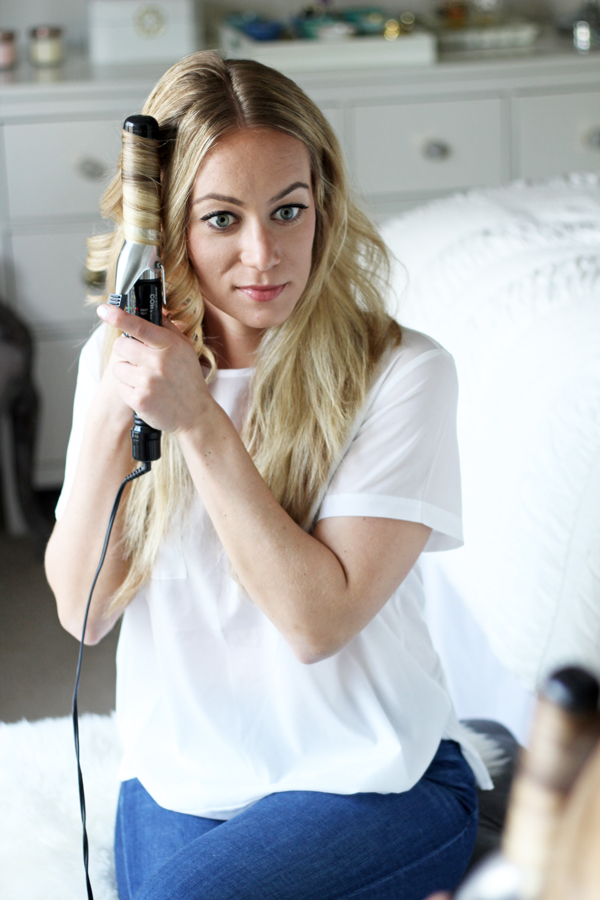
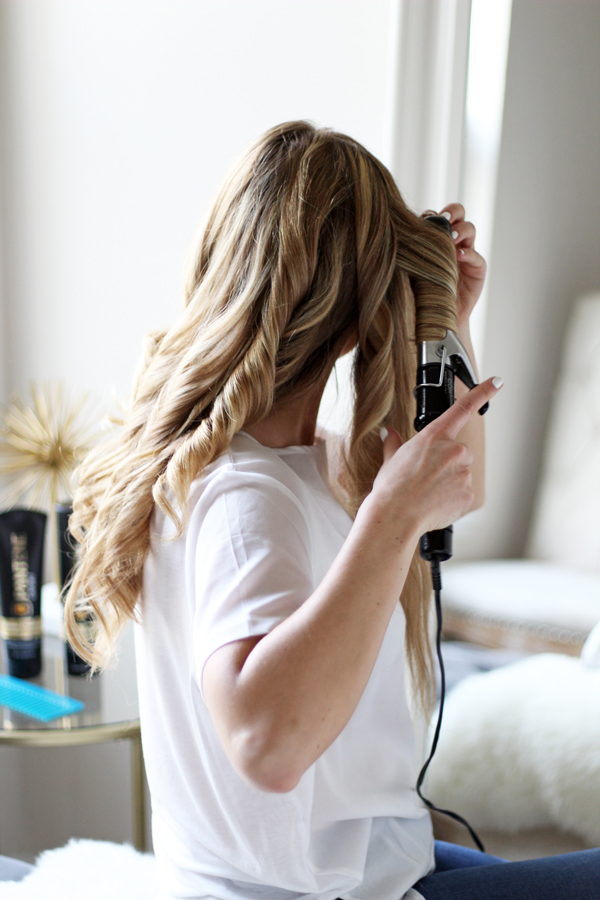
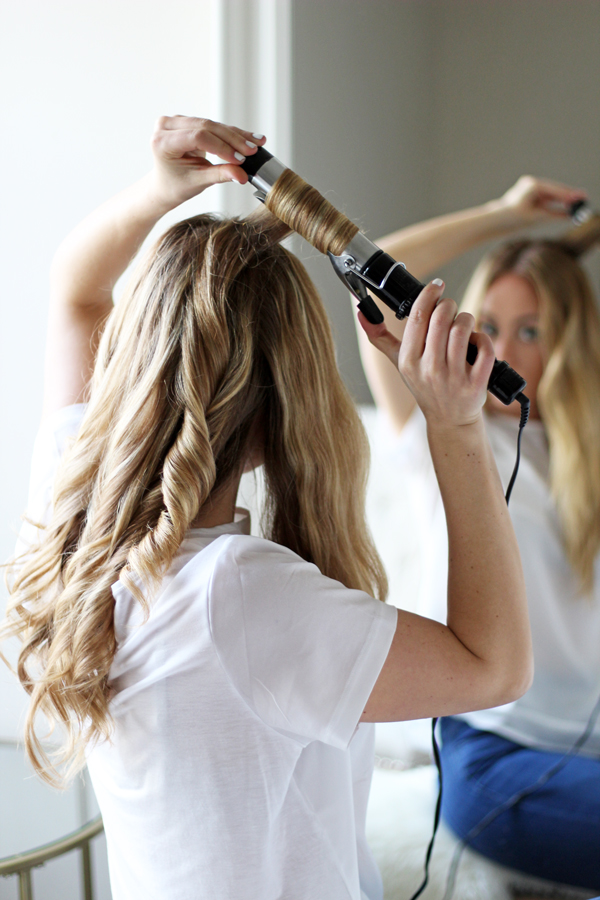
Now we’re at the good part. You’re ready to start curling! I take 1-2 inch sections to curl at a time – usually 1 inch sections closer to my face and a little bit more towards the back of my head. Once you have your sectioned piece, clamp the curling iron about 2 inches away from your head – NOT at the bottom of your hair. This is how you get your curls to stay and not fall out after 20 minutes. Curl away from your face, until all of your hair is wrapped around the iron. Once all your hair is around the iron, hold for 5-10 seconds. The longer you hold, the tighter the curl. Let the iron loose – and don’t brush out your curl!
STEP THREE
Now you’ve mastered the art of curling – one piece of hair, ha. You can continue this same process all the way around your head. I have actually started to throw in a few pieces curled the opposite direction to create body and bounce in my hair (and pretty much only wear my hair this way now.) If you’re feeling fierce, you can add in this step!
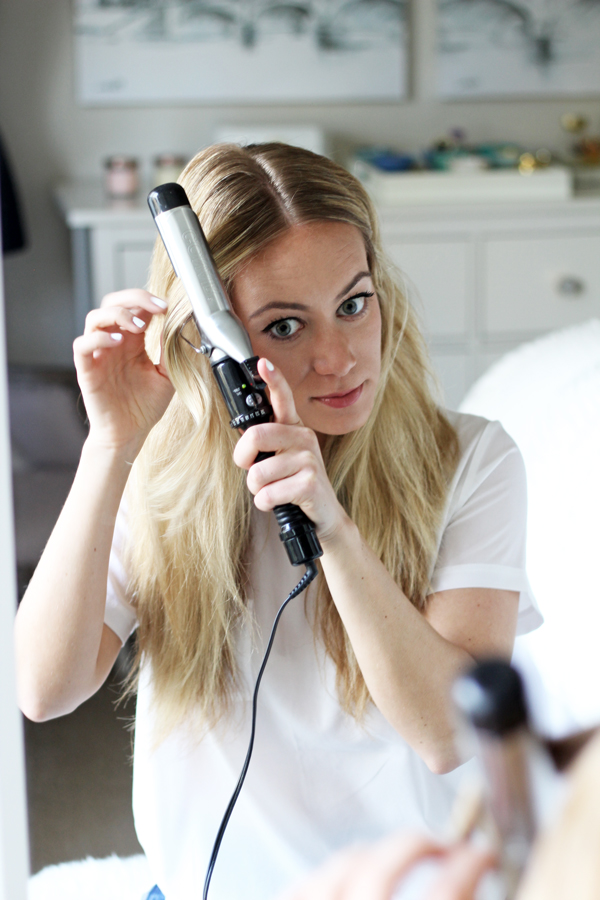
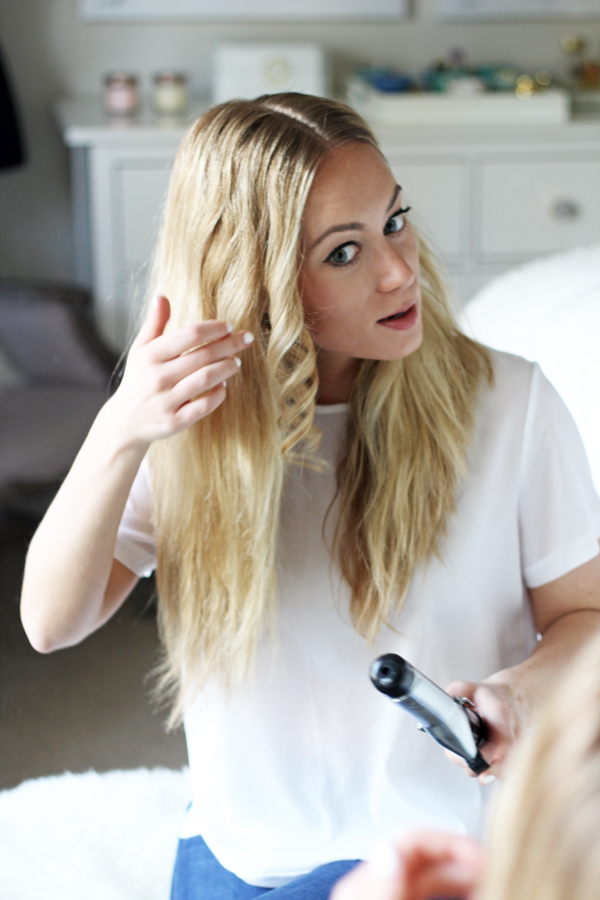
You’re going to do the same process as step 2, just curling towards your face. You want the pieces that you curl towards your face to be underneath or towards the middle of your head – not right near your face or on one of the top layers. You can see in the photos below that I pulled a piece underneath my top layers after I already did a few curls. Keep this process up for the entire side of your head.
STEP FOUR
I like to break up my hair into two sections, left and right side. I curl the entire left side first, and then pick up with the right side. But this time I start in the back of the section – so that my curls fall into the left side without looking like I curled two sections – make sense? I do the same process of curling towards and away from my head/face as I make my way all the way around.
STEP FIVE
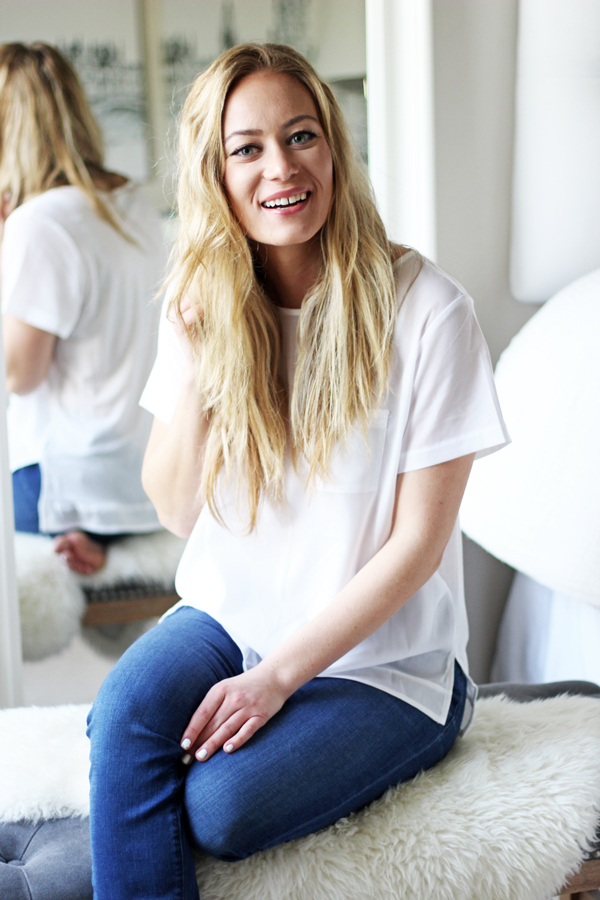
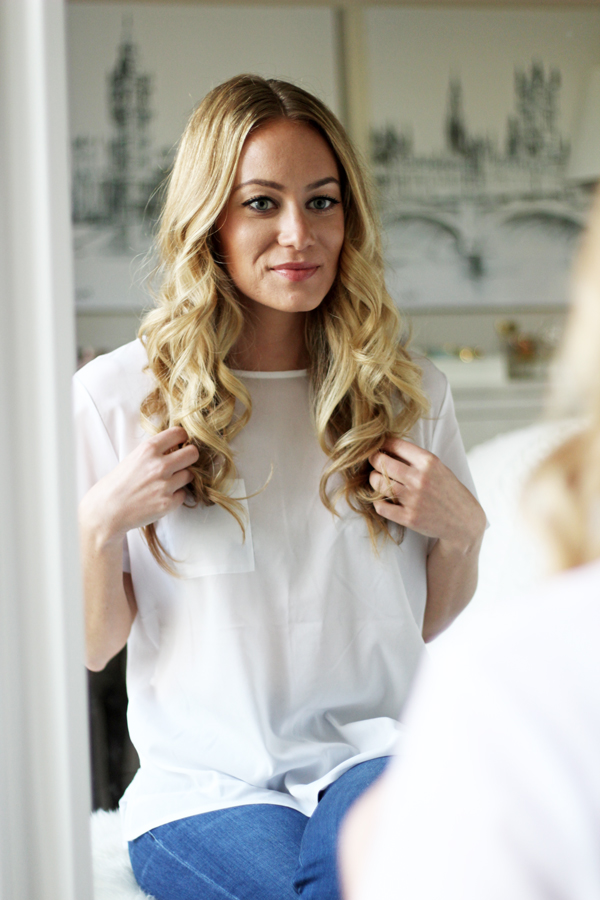
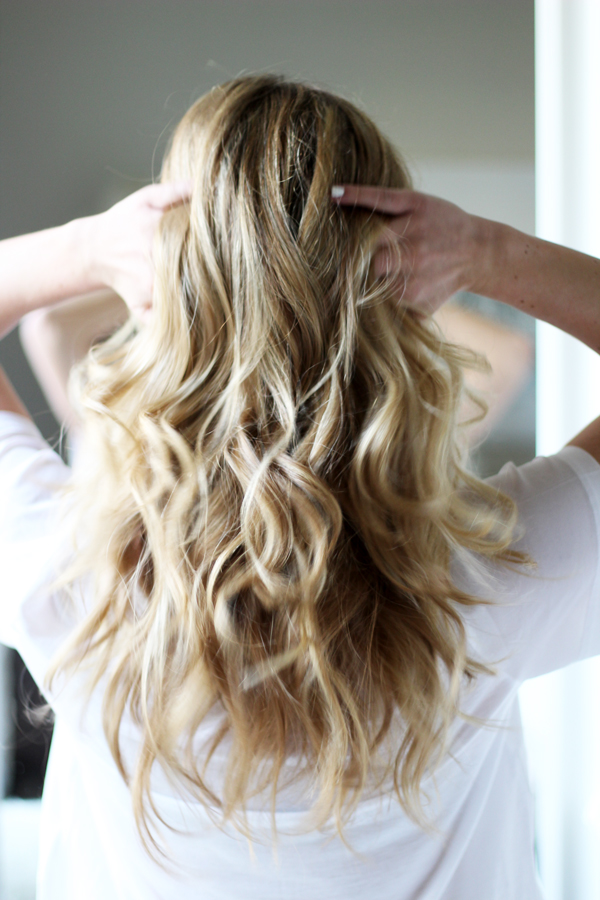
You’re almost done! Now you’ve made it all the way around to the right side of your face. All of your hair is curled, but remember – you haven’t pulled out any of your curls yet! This is the last step. I run my fingers lightly through my hair and tousle it up a little, letting those curls come loose now that they’ve had a few minutes to hold and cool down. (The first photo below shows my hair pre-pulling out the curls.)
And then ta-da! You’re done. Five simple steps to get you those coveted big waves. And see? You don’t need any budget-breaking products to do so. Head to your local drugstore (or Target if you’re addicted like me) to pick yourself up a curling iron, comb and teaser, and the Pantene Expert Intense Hydration products. You’ll be rocking those glam locks in no time!
Today’s post was created in partnership with Pantene.


Great hair tutorial, thank you for sharing!!
http://lartoffashion.com
You have great hair! Thanks for sharing!! Xo -Anna