I’m super excited to be sharing about my microblading experience today. To be honest, I was really nervous to get it done – so many questions were running through my mind. Like “will I like it?”, “what if I don’t?”, “will it hurt?”, “will it fade enough? or too much?” and so much more. I realize these questions are all common and 100% normal for the microblading customer. If you’re considering it, then you’ve probably had these same questions at some point or another.
I wanted to go through the whole process from start to finish before sharing a word on the topic – because it’s not just a one and done in a day type thing. Microblading is a process and takes at least 4 weeks if not more depending on your skin and healing. The finished product was really visible after about 7-8 weeks after my initial appointment.
For me, the most important thing was to find a technician that actually knew what they were doing. I read horror stories on the internet or heard from some friends that they didn’t really like how it came out – so I knew I wanted to find someone I could trust. You all know I’ve been a regular at FaceIt Medspa in West Hartford over the last 6 months or so, so when the FaceIt girls told me they have someone in house, Saundra, I was instantly put at ease. The spa and their services are top notch – some of the best I have ever had – so I was confident it would be the same for my microblading.
This post is a bit long, but if you’re considering the process or want to know more about it, just hang in here with me and read it over! I have a video here of some clips of the actual microblading process and then photos during my healing process so you can see each step along the way. (disclaimer: they aren’t glamorous at all ha!) And of course, if you have any questions at all, just leave a message in the comments + I’ll answer as best I can!
First off, let me say that my microbladed brows have changed my life. Okay, maybe that’s a little dramatic, but a good brow shape is so important for complimenting your facial features/shape and not having to fill mine in, even them out, etc every single day has made SUCH a difference. I LOVE THEM!
So without futher adieu, let’s hop in and I’ll take you along on the journey step by step here.. this quick 2 minute video is just clips of the process put together so you can watch as you read!
Step 1: Consultation
Note:Your first appointment will be about 2 hours, so set aside enough time + I personally wouldn’t make any other plans for the rest of that day. You will have some redness + soreness, and I wouldn’t wear any makeup so laying low at home is probably best.
When you arrive for your appointment, your technician will do a consultation first. You’ll talk about your brows as is, what look you want to achieve with microblading, and then physically draw them out/fill them in with a pencil. This is to ensure the shape you want is the shape you’ll get once the actual blading starts.
Don’t be afraid to fix and refix the filled in portion with your technician. We changed mine several times before I felt confident what we had drawn out was what I wanted and liked. I’m really picky when it comes to my brows (such a perfectionist) and knowing that the blading is semipermanent, I wanted them to look perfect. Also, don’t be alarmed if your fill in is super dark – this is totally fine! It’s just regular pencil that will come right off, and you want the lined to be bold enough for your technician to actually see where to blade.
Step 2: Outlining
After the pencil has been drawn, my technician outlined them with actual ink since when applying the numbing cream+ the blading the makeup pencil can come off. We wanted to make sure we had the line clearly on there. Again, this washes off!
Step 3: Numbing + Pigment
Numbing cream is applied. Microblading is a literal tiny blade that’s making cuts in your skin so it just plain hurts! I have VERY sensitive skin, so we ended up needing to apply numbing cream (a topical anesthetic) every few minutes during the process for me. Some of you might be fine with one application, but I needed a lot – ha! Once applied, your technician will let it sit on there for about 3-5 minutes while it works to numb your skin before she starts blading.
While the numbing cream got to work, we matched the pigments I wanted. I like my brows to have a “faded” look so instead of doing one same color throughout, we picked a lighter blondish color for my inner brow and worked a dirty brown into it as we went along.
One thing to note here is the actual pigments themselves look a lot darker than they will actually appear on your skin when bladed into it. The blade creates tiny little hair strokes, and not one large “paint splat” so just keep that in mind when you’re picking colors. You want them to be dark enough to be visible.
Step 4: MicroBlading
Actual blading starts. Depending on the natural hairs of your brows, you may have a lot or a little bit of blading. I have a thick brow generally speaking, but wanted a bolder inner portion and extended “tail” if you will so my brows looked full. Because of this, most of my blading was done on that inner portion to make the brows even and bring them in a little closer to shape my face. We didn’t blade along my arch too much since my brows are naturally thick there and just a few blade strokes along the tail portion (since this is usually thin anyways).
The blading basically cuts your skin + the brow pigment is “inserted” into the cut in your skin to create a hair like looking stroke. This is how microblading (when done right!) looks so natural. Since I have a thicker brow in my arch line, we made sure to put a lot of hair strokes towards the center so that it looked natural and flowed right along into my natural brow.
This part of the process can be painful – your skin becomes really tender from the blade cutting it. We took some breaks for a few minutes here and there and applied more numbing cream when I started to feel the blade strokes.
Step 5: The Healing Process
Okay, you’re done! If you make it through the first two hours, then you’re golden. Now starts the healing process. You will go through a 4 week minimum healing process before coming back in to see your technician. My first appointment was on November 6th and my follow up was December 4th.
For the healing process – it is CRUCIAL in those first few days to keep your brows moisturized. Your technician will give you a list of things you can/can’t use – I personally used the Rose Ointment from Young Living and 100% believe this is why my brows healed so well. They were healed up within the first 4 days! Rose Ointment is an all natural ointment infused with skin supporting essential oils, including rose, myrrh, patchouli, geranium, ylang ylang, and tea tree. It also contains other natural carrier oils like rose hip, jojoba, and castor oil. I just dabbed a little bit of this onto my brows several times a day during those first few days.
Your skin will flake off – this is totally normal and fine as your skin is healing and scabbing over. Don’t pick at your flakes or scabs, let them fall off naturally. When you wash your face during that first week, don’t directly rub on your brows – you want to be sure the pigment stays and settles into those little cut strokes while they heal up! Also, don’t apply any makeup, coverup, etc. to your brows. They might be red or healing up a bit that first week and you’ll be tempted to cover it up – but just let them be. You will thank yourself later!
Step 6: The Freakout Process
Yes, this is 10000% part of the process. When your brows are first microbladed, they’re going to be super dark. So dark that you’re going to stand in the mirror and wish you never did this. You may even lay in bed until 1:00am googling ‘how to reverse microblading’ and want to run to the sink and rub your face until it comes off.
Don’t. I promise you’ll be fine.
Even though that was me on all the above. Even though the FaceIt girls warned me about 7 times that this would happen.
I freaked out because the pigment was SO dark, I looked like a drag performer. It freaked me out, and I was messaging a girlfriend of mine who does blading on the side asking her a million questions a minute, sending photos, and trying to find some sort of sign that everything would be fine.
And guess what? It was.
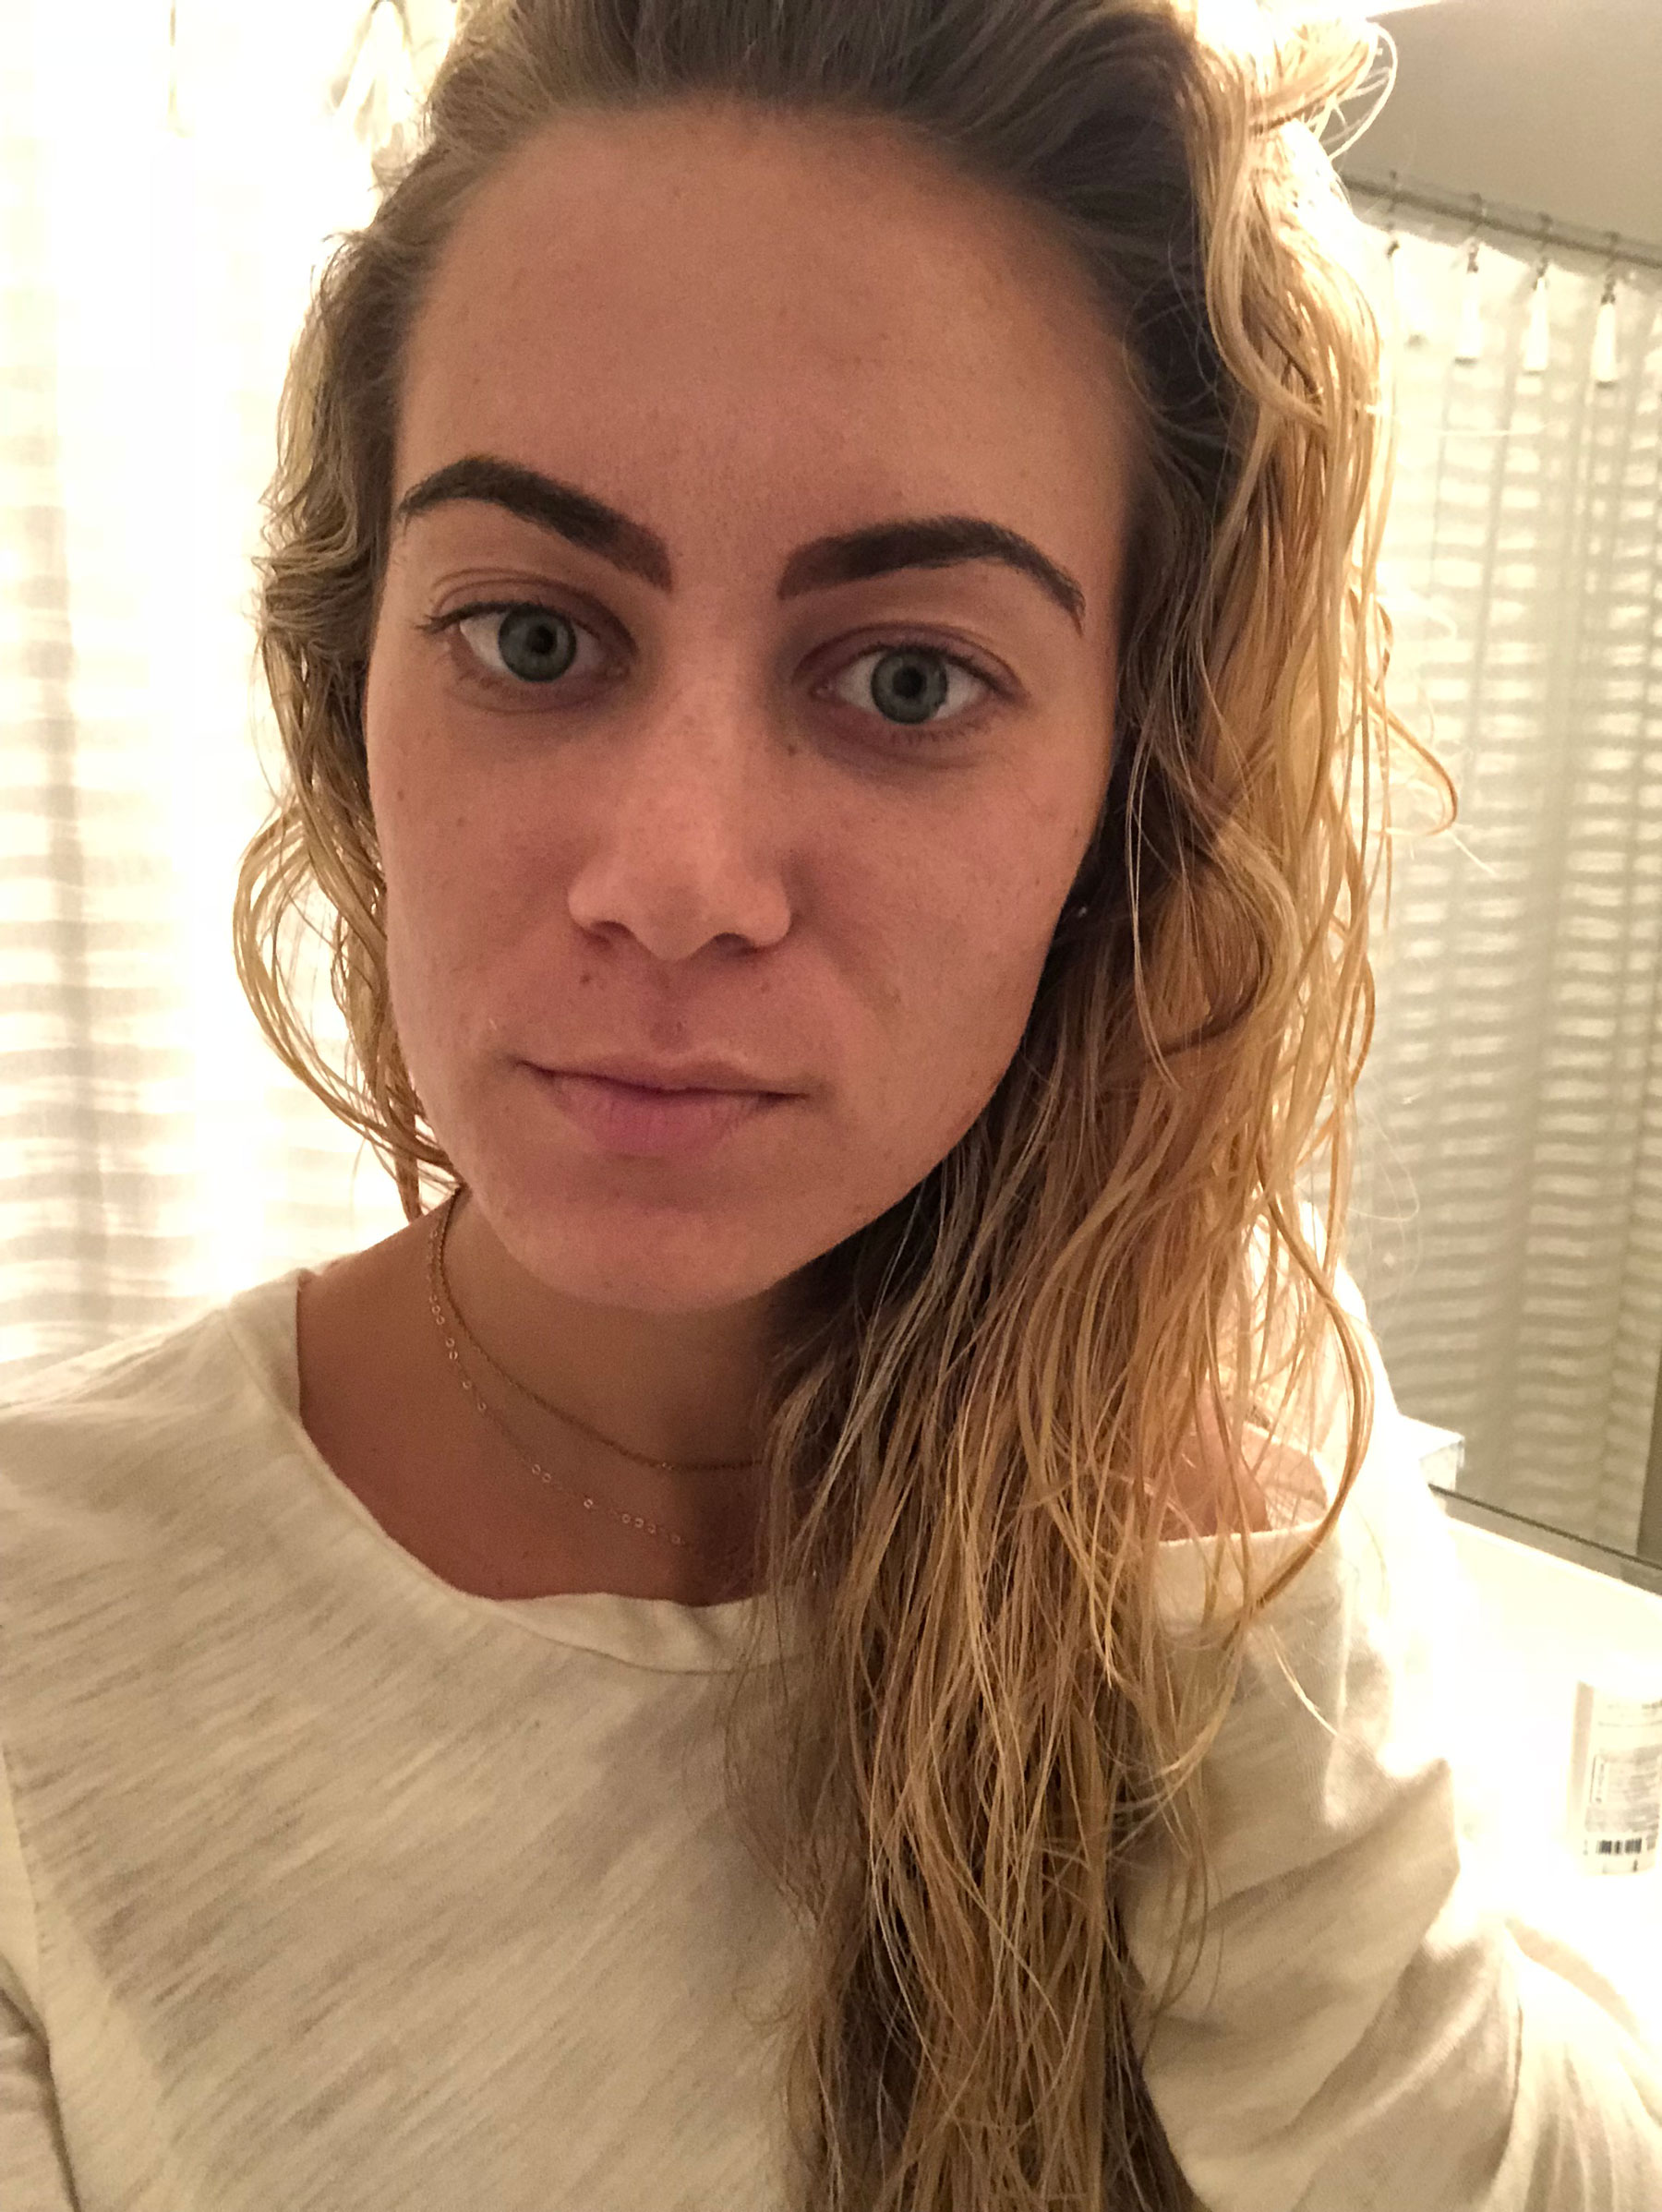
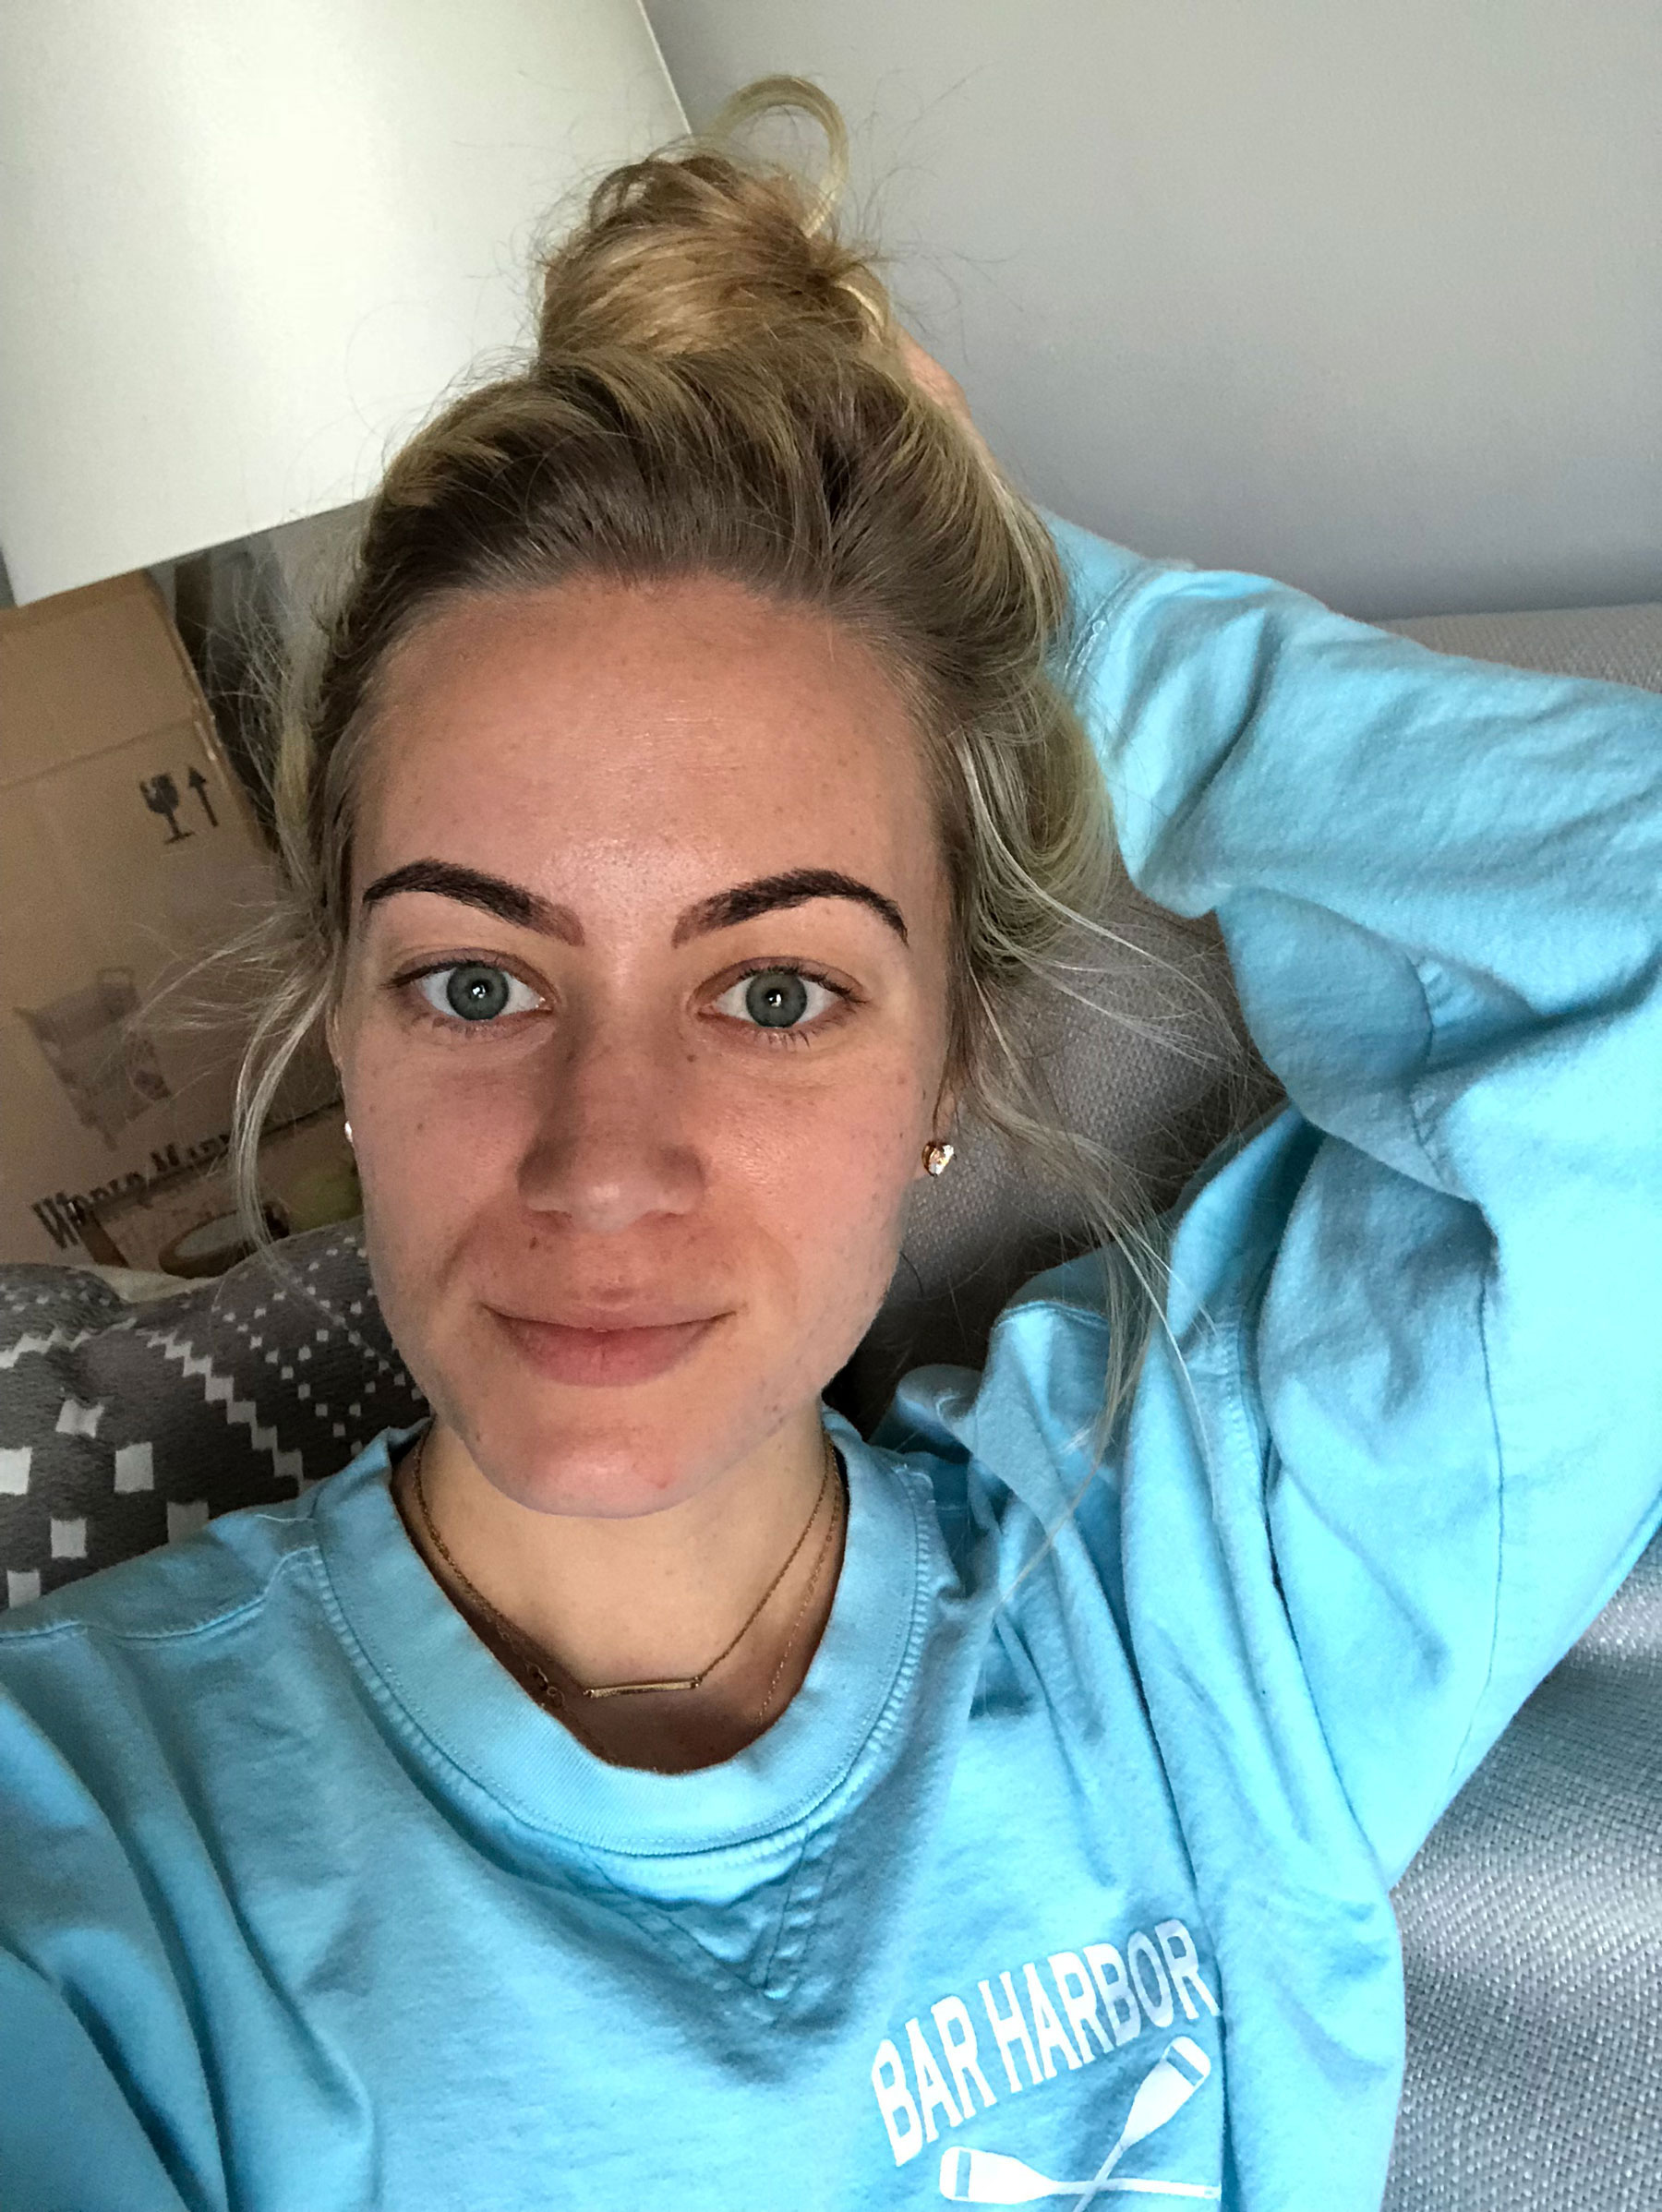
Here are photos of the first couple days after I had my microblading done. You can see each day, they faded just a bit.. as the pigment settled, skin flaked off, and overall healing took place.
I got my microblading done on November 6 – you can see the progress in days/weeks following below!
Evening of November 7th – super dark and my face basically shows how much I was freaking out.
Morning of November 8th – already starting to fade and my anxiety level greatly decreased.
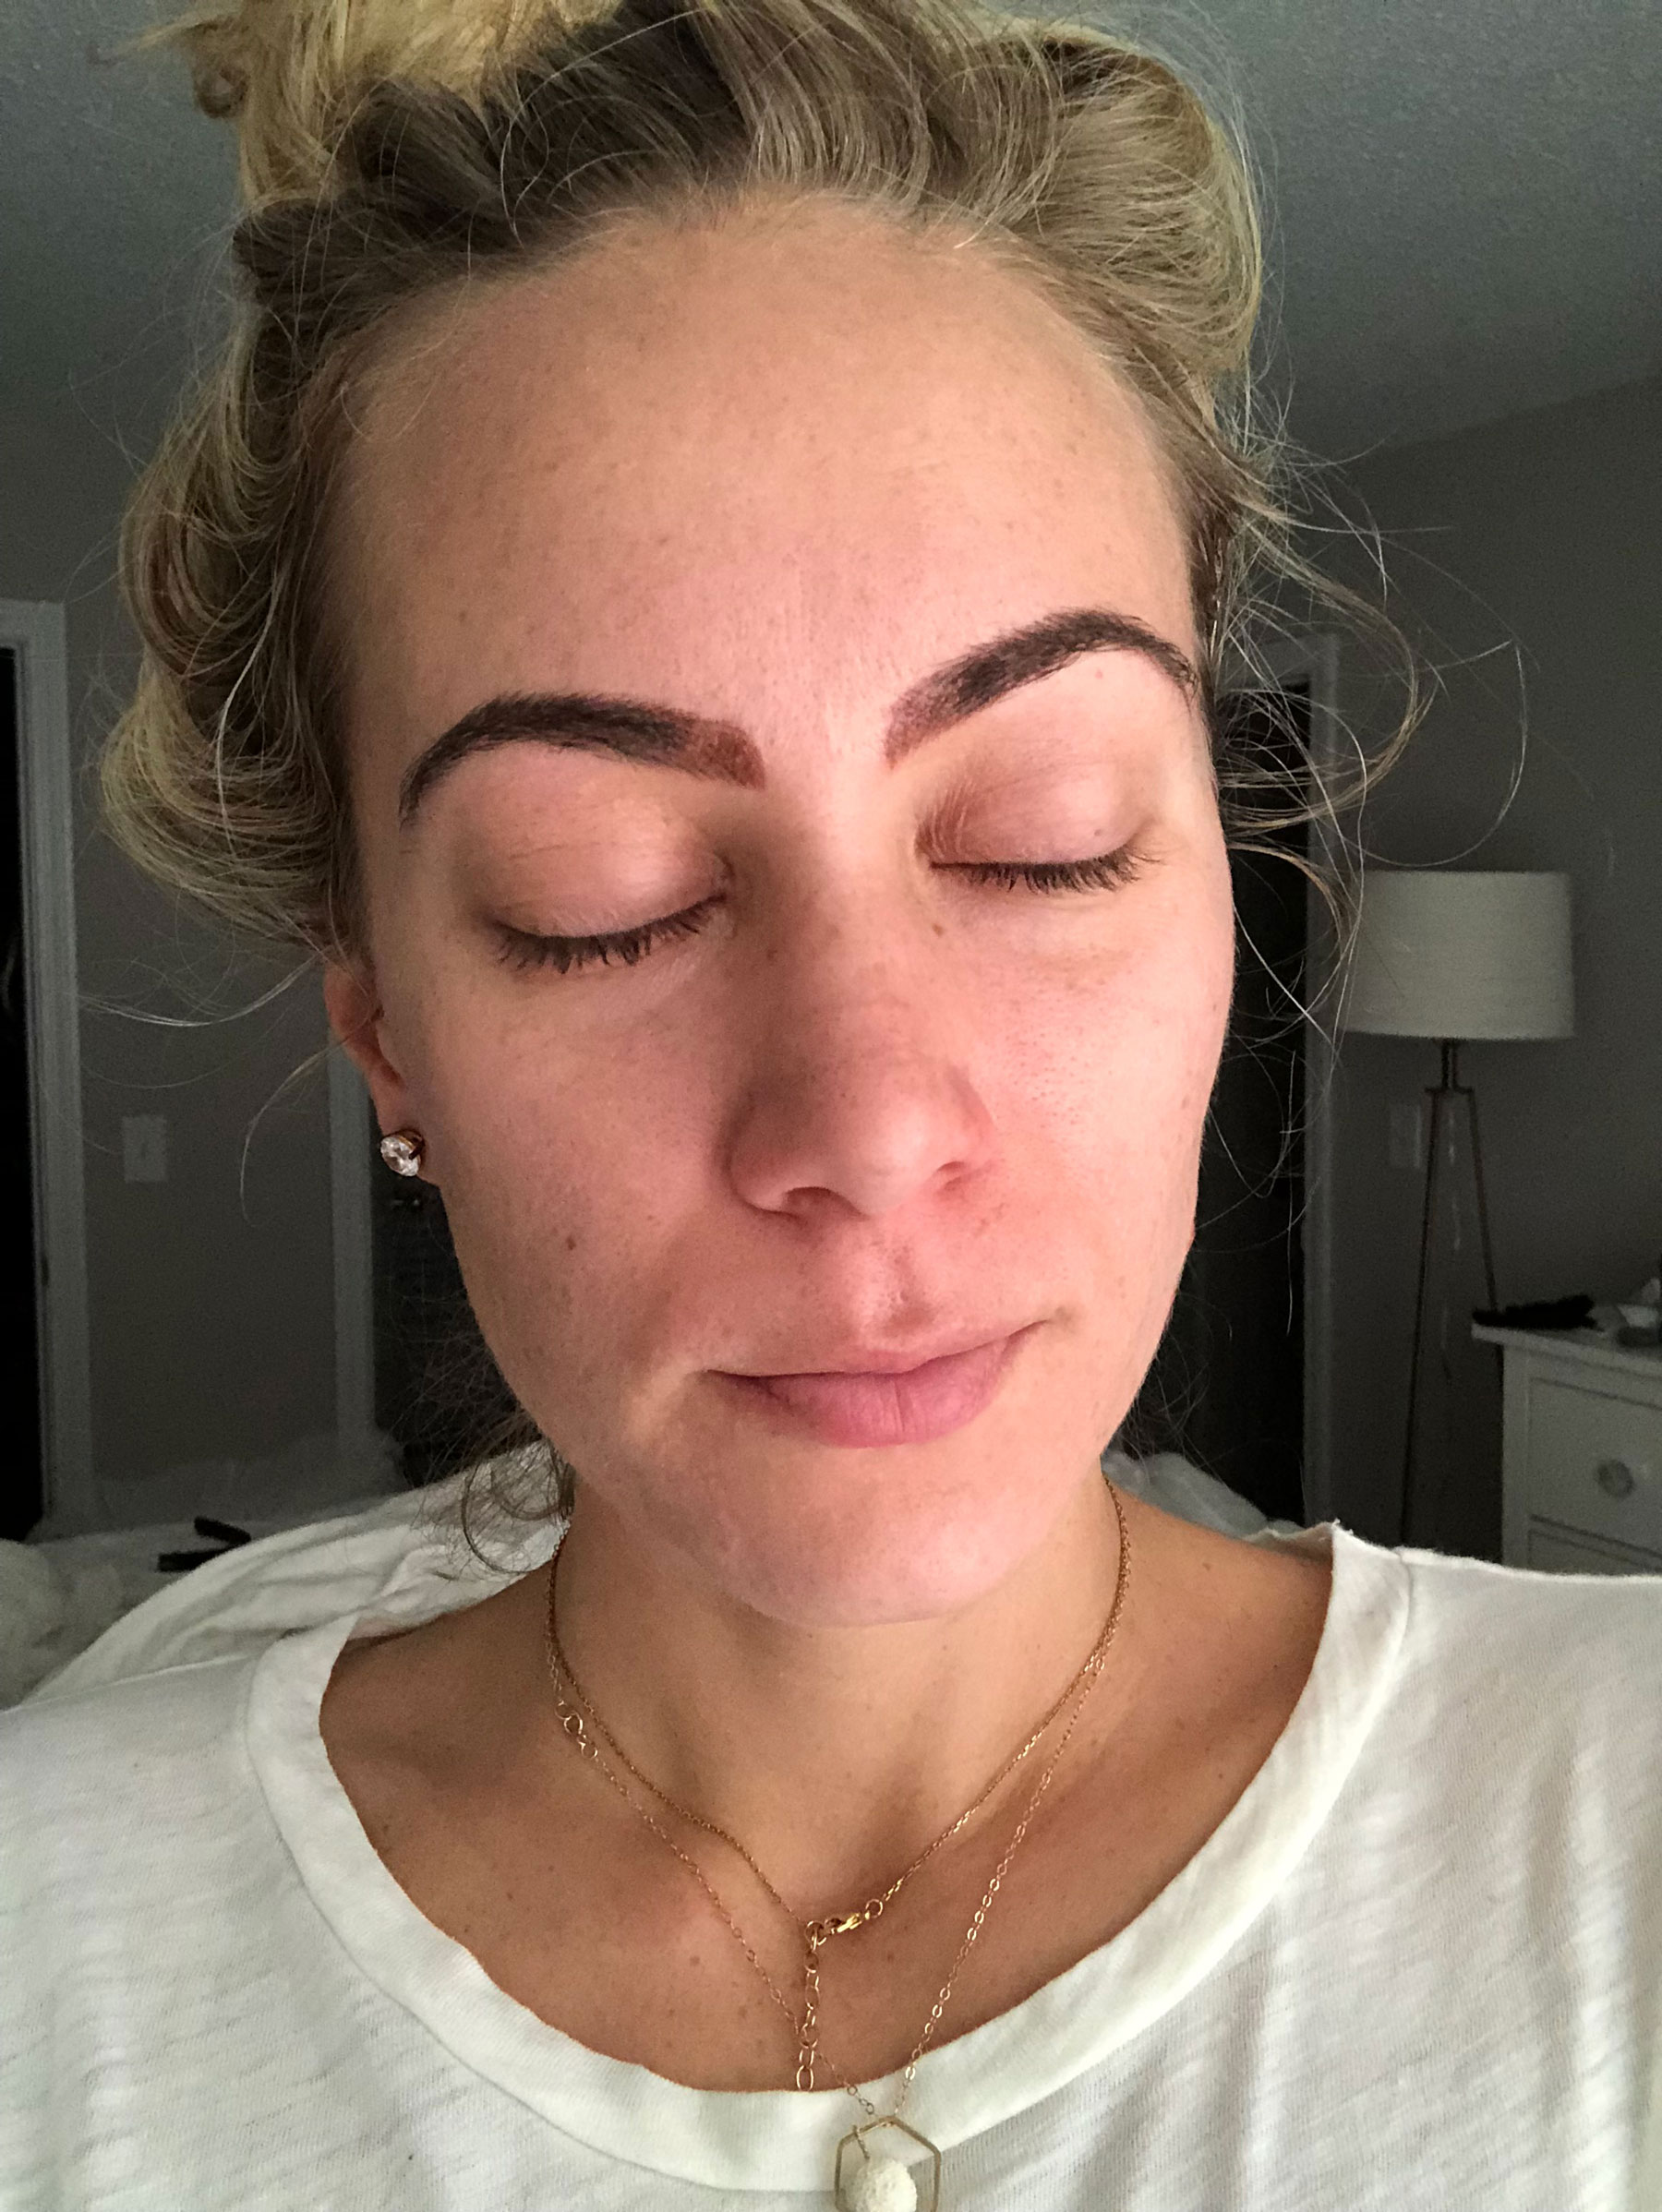
Early evening November 8th
November 9th + already looking SO much more faded!
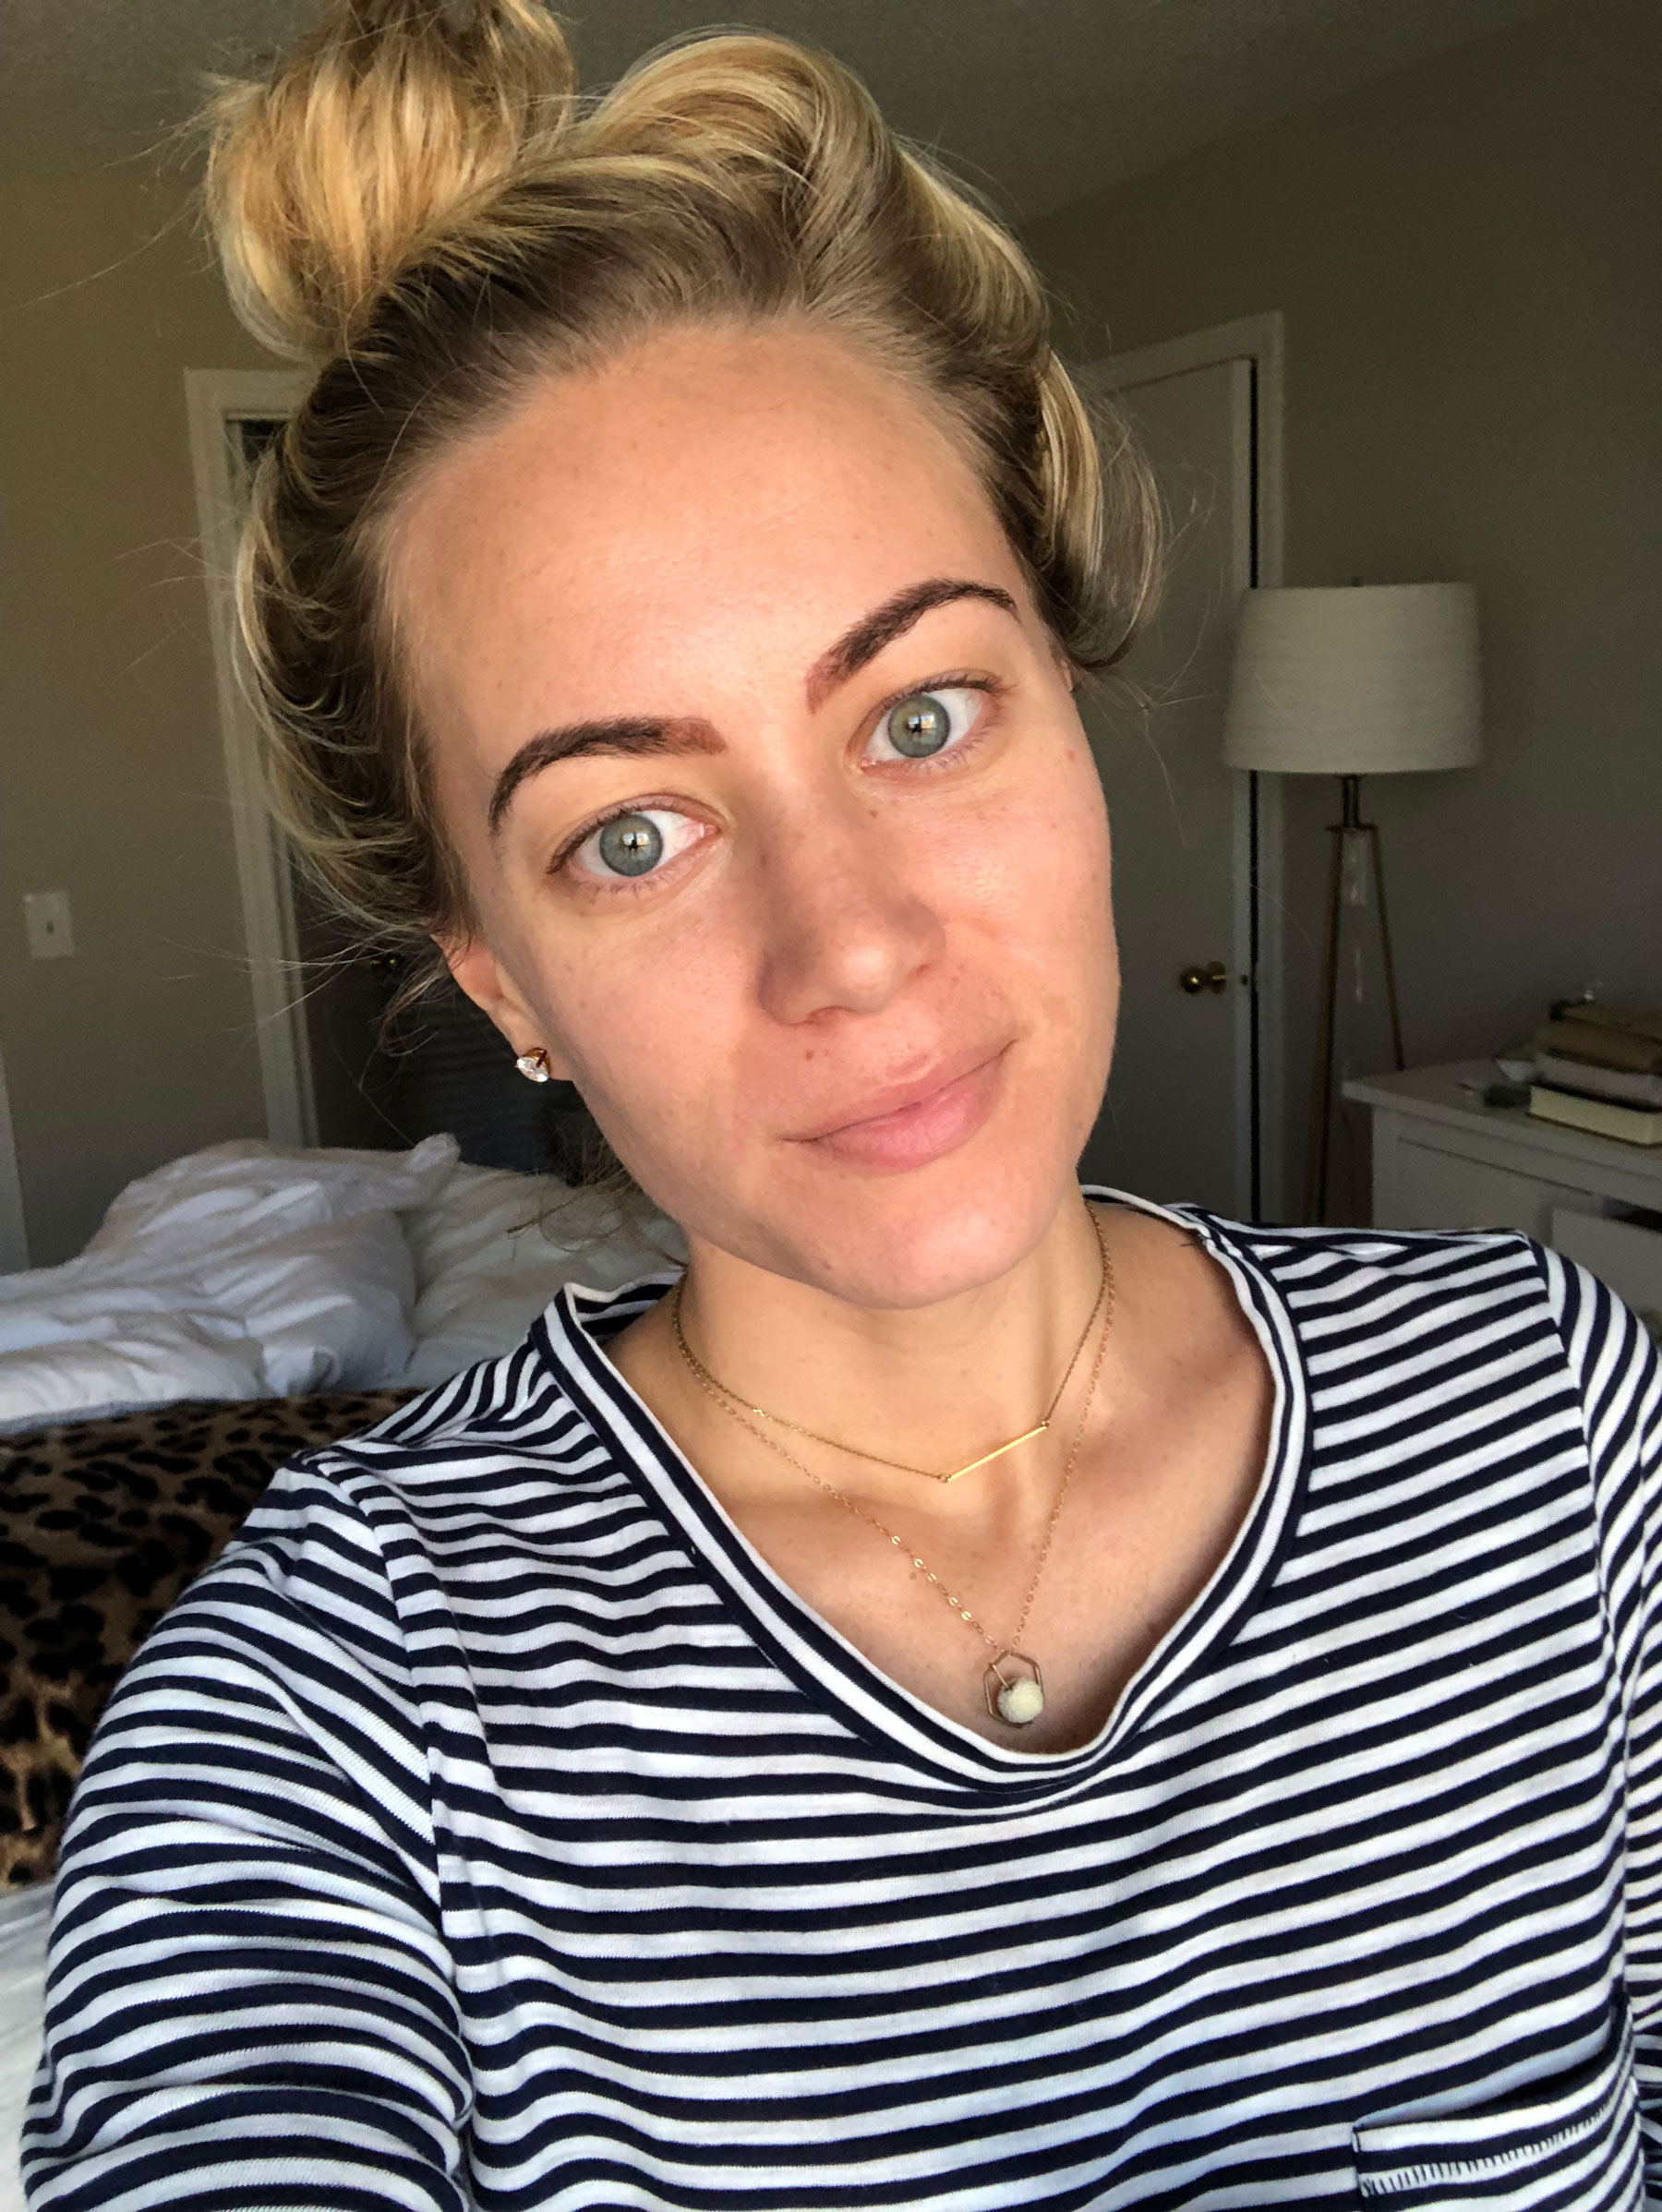
November 10th – everything is fading well + I am loving it so far!
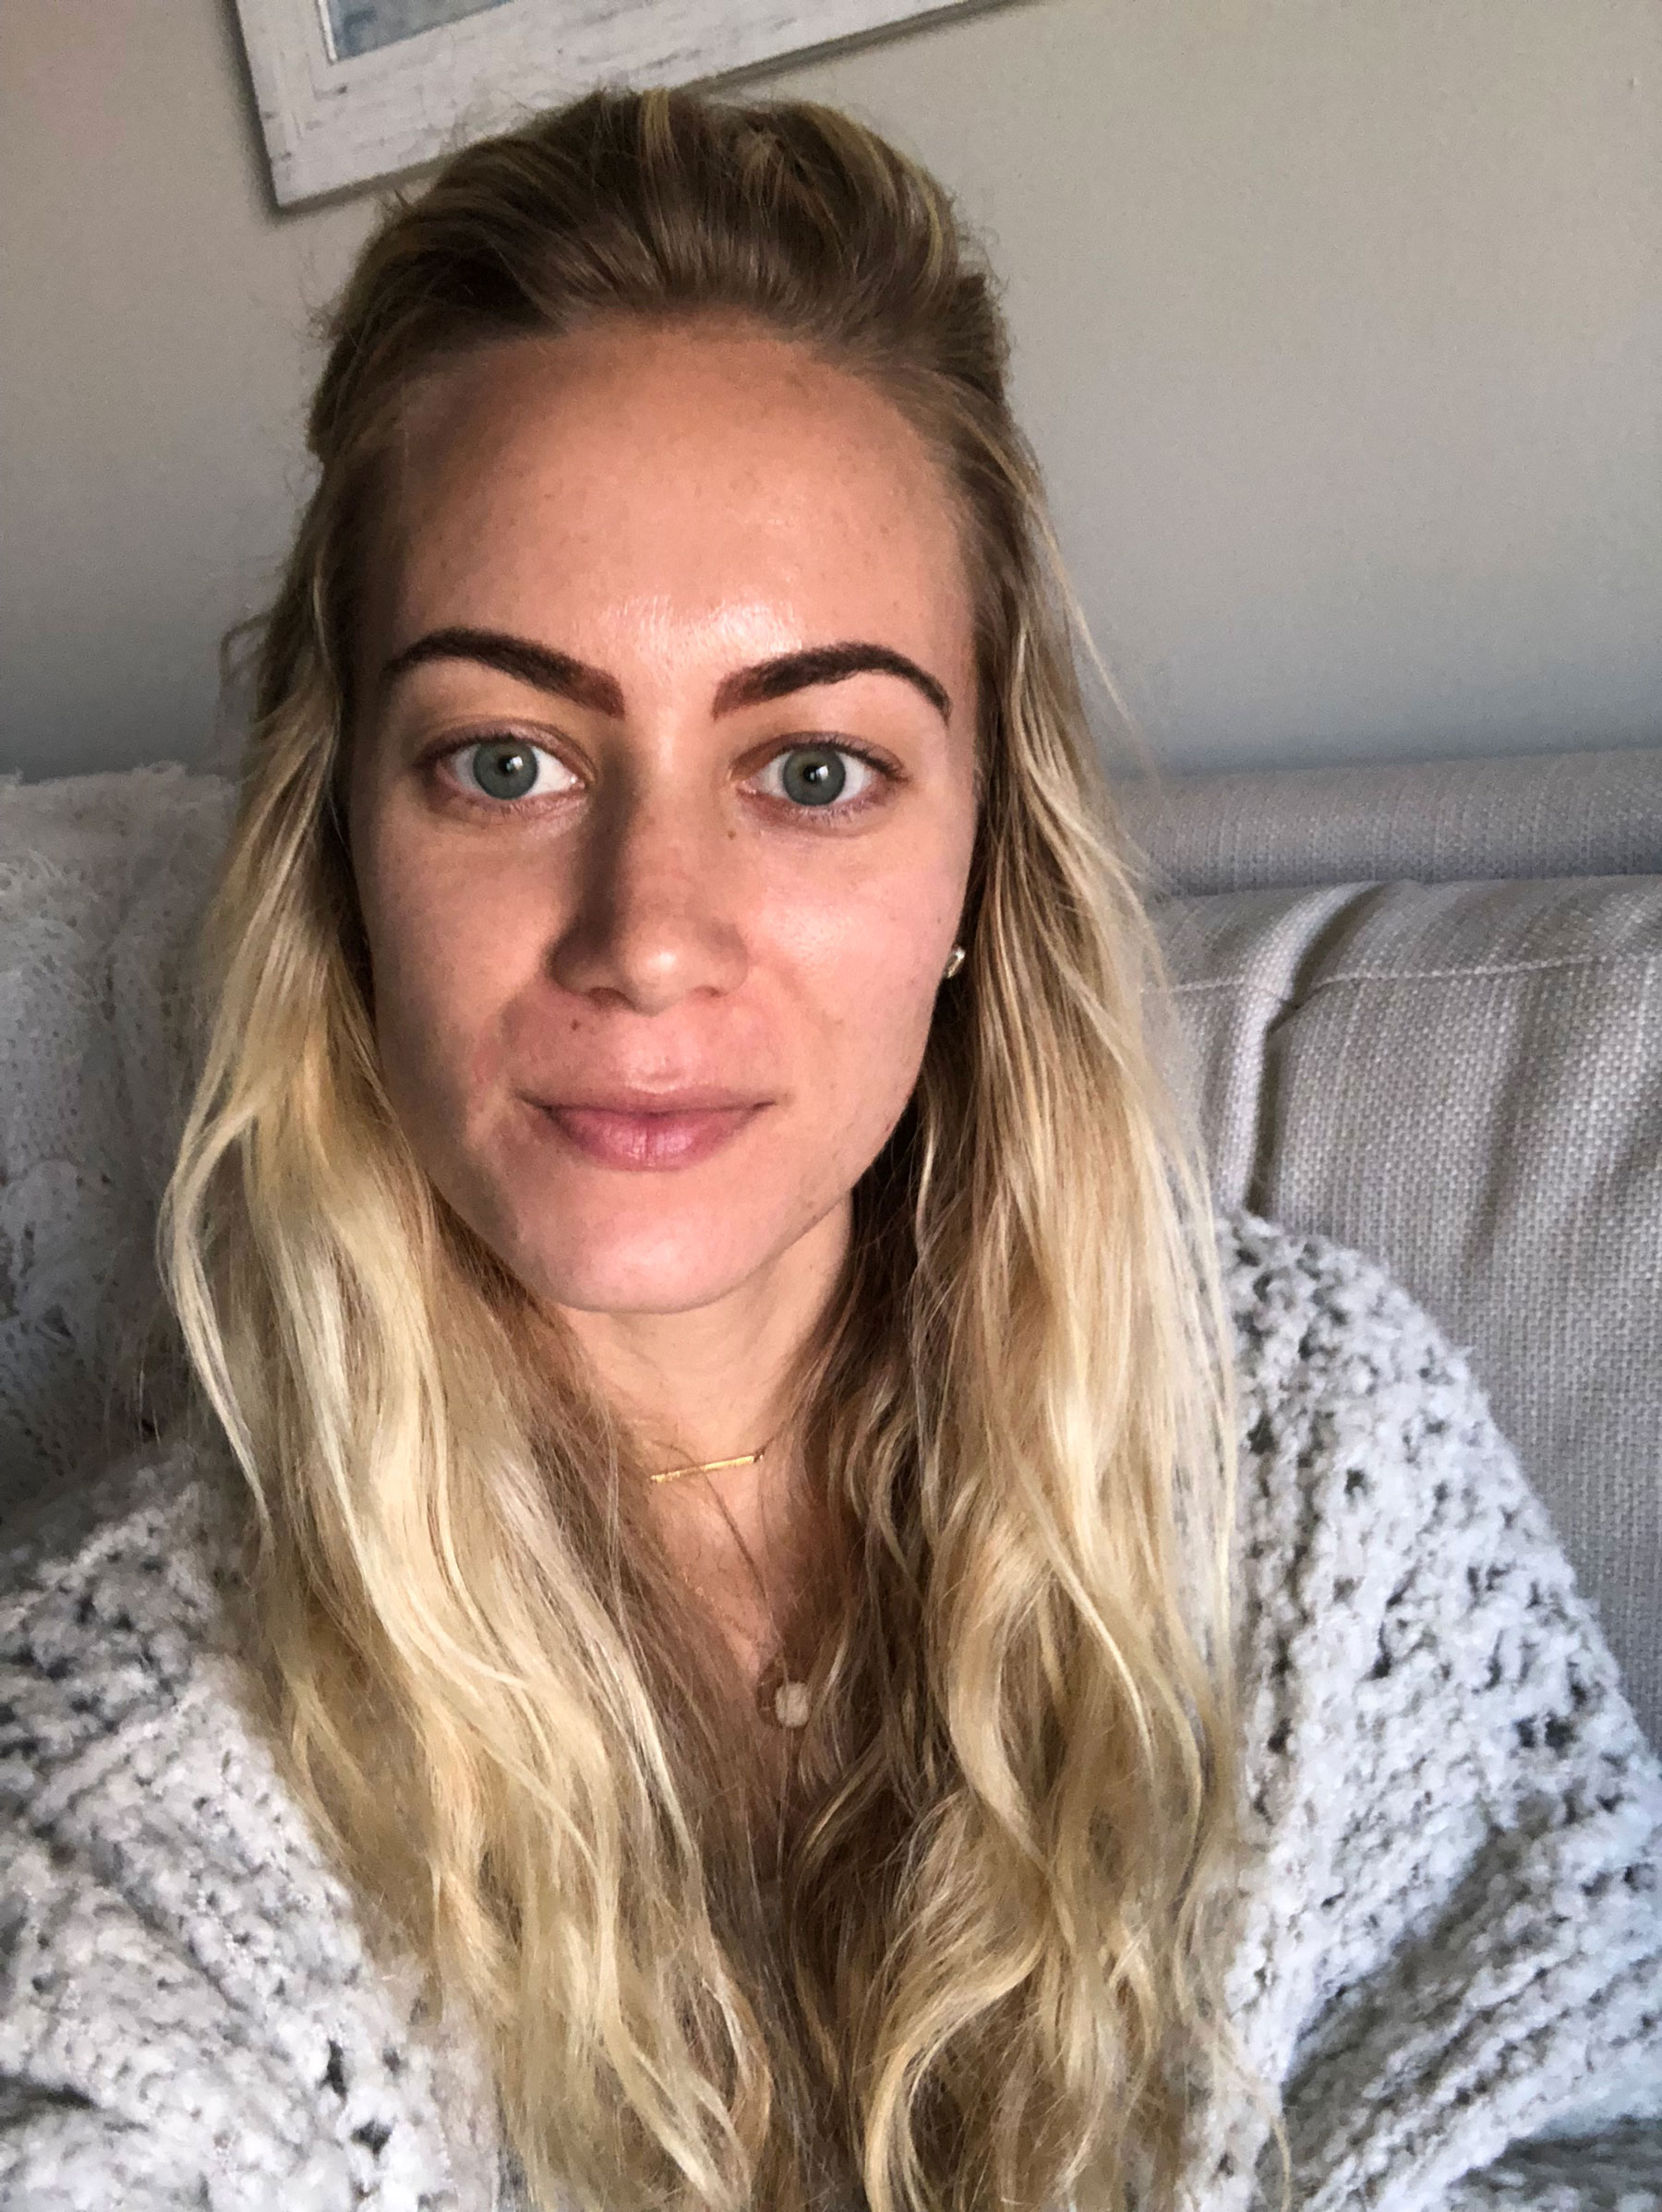
November 20th – two weeks after having microblading done! Everything set + faded perfectly. You can see the spot on my left brow where it’s a little ‘bare’ and that’s what the touch up is for!

This photo of me on thanksgiving is before my follow up + 3 weeks after initially having the microblading done! For the faded spot, I just lightly filled it in with my brow pencil on hand, but other than that, they look perfect!!
Step 7: Follow Up
As I mentioned before, your follow up is about a month after your initial procedure. This appointment needs to be after your skin has fully healed – so that your technician can see where she may need to put some more strokes. The first photo below is two weeks after my first appointment and two weeks before my follow up. You can see my brows are pretty much all healed, but there’s some spots that need additional shaping and the left brow as an “empty” looking spot right in the front. This is exactly why you need the follow up!
For my follow up, we added just a bit on the inside of each brow and one of the tail ends.. which you can see in the video below (where the numbing cream is). The second video shows after we applied a bit more pigment, so again – they’re a little bit dark but that pigment will wear off and the skin will heal up from any additional bladed strokes.
Step 8 : Finished product
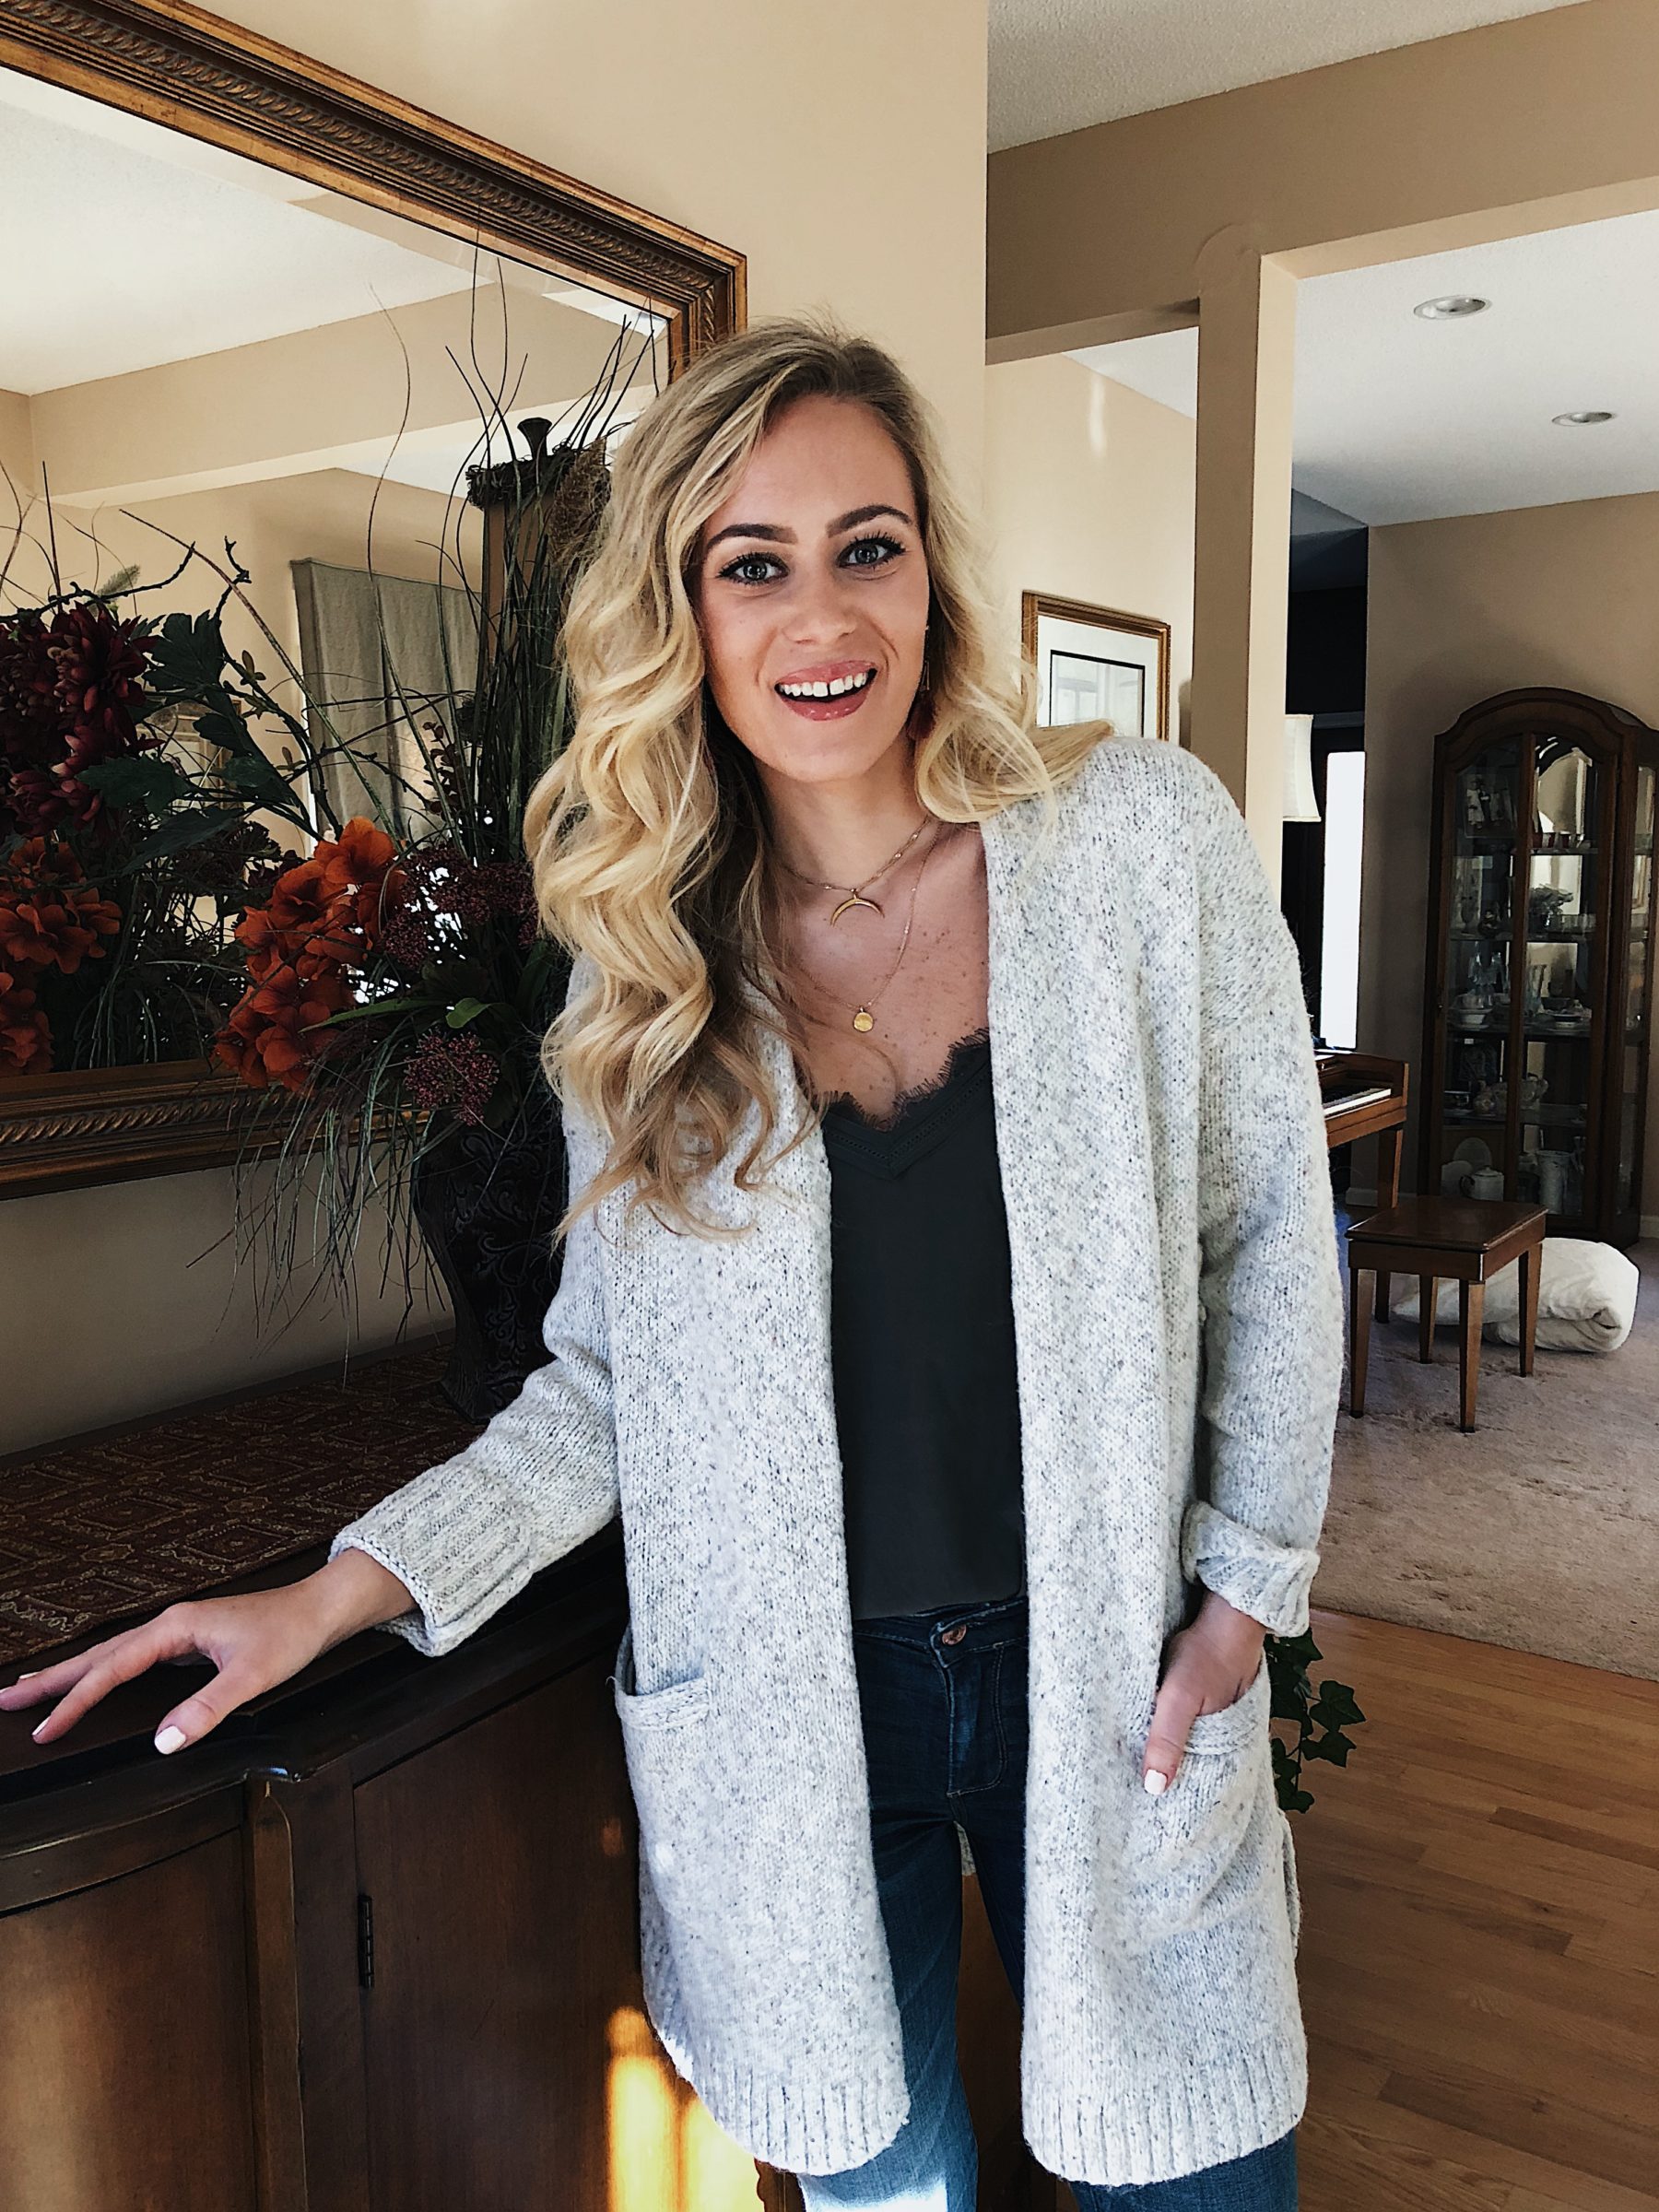
After 2-3 weeks or so after your follow up, you should be all healed up + your brows looking great. If you still have some blank spots, I would head back in for one additional touch up. Mine were fine so I didn’t need it! I’m showing this photo of Kristopher + I on Christmas Day (so about 3 weeks after my follow up) and you can see my brows are the perfect width, shape, everything. They came out AMAZING!
Here’s a photos of Kristopher and I on Christmas – but it shows my brows really well + you can see they’re totally healed up and looking so good!

If you asked me if I thought they would look like this the day after I originally got them done, I would’ve said no way. But the microblading process is all about patience and giving it a little time. I’m so thankful to the FaceIt girls, because they really put my mind at ease throughout each step of the process.
Microbladed brows last anywhere from 6 months to 3 years, depending on your skin type + other factors. If you have more oily, moist skin then your brows won’t last as long since the pigment is essentially being “washed out faster”. We’re now into March and my brows are still going strong about 4 months later. And once you’ve microbladed once, you don’t really need to go through that whole entire first process again, unless you’ve waited until they’re completely faded out. I will probably go in for a touch up in another 5-6 months or so just for upkeep and maintenance so they don’t fade out.
Let me know if you guys have any questions at all. I tried to be as thorough as possible but could have missed something so just leave a comment below. Have any of you had your brows microbladed and what was your experience? I would love to hear!
Thanks again to the FaceIt team for being SO awesome – if you guys are local to Connecticut, I highly suggest their salon for any type of MedSpa services – you can mention ‘stylecusp’ for a little discount off your service too! 😉


I love this! I have been thinking of getting this done since my roommate had hers microbladed. Super helpful! My anxiety would definitely be through the roof too- but the seeing the pictures day-by-day, and the final result makes it less scary!
hello! loved this post. Question – during the healing process, after the scabs have fallen off and you are waiting for the second session, are you able to use eyebrow pencils/makeup to fill in the awkward or faded spots???
Yes! I penciled in where i needed to once it healed and my skin wasn’t super sensitive.
Just got mine done and freaking out over how dark they are. Super nervous about work tomorrow. Looks like I took a sharpie to my brows!
Just had brows microbladed.
Now I’m applying Castro oil on my eyelashes, would that have any negative affect to my eyebrows by any of it getting on them?
Thanks for sharing your experience! They look great! I got mine done two days ago and am in the “drag queen” phase! Praying I don’t get called in to work for a meeting in the next 2 weeks. They look so reddish – hoping they fade to a nice neutral brown. 🙂 Maria (artsycupcake.com)
You look so beautiful after the Treatment! Thank you so much for sharing your microblading experience.
I feel like mine are a little uneven and thicker than I wanted. Should I steam and try to fade it faster or let it go and let the professionals fade them? Can they fade them? It’s my day 1 and I am in middle of the night freak out mode. I had very thin to almost non existent especially from the arch to the end- the brows just disappeared. Now I’m worried it’s too drastic. I showered and started washing my brows trying to fade them, but my friend said to trust the process. I’m so worried I won’t be able to undo them and what if they last 3 years????
The first day or two you WILL freak out – i did, everyone does! And I was warned of that. I would give it some time 🙂
I had mine done 2 days ago and one is defo thicker at the end than the other. I prefer the thinner one. My technician said she can fix it at my 2nd appointment. Is this so not sure how she can. I’m so worried.
Angelina
I had mine done 2 days ago and one is defo thicker at the end than the other. I prefer the thinner one. My technician said she can fix it at my 2nd appointment. Is this so not sure how she can. I’m so worried.
Angelina
Thank you for sharing your experience… i did my microblading two days ago and im going crazyyy… im not happy with the results…looks so thick and darker.. im crying and regretting what i did to my face… and more my brows makes me anxious…i never felt (anxiety) in that way… i wanna get rid of these feelings… as well tomorrow is my cousin’s wedding and i decided not to go with these brows 🙁 so again thanks for sharing… and now after reading everything im relaxed and excited for the results after 1months… hope my brows looks natural…
I really needed to read this! I had my Microblading/shading done 2 days ago and I look like a angry cartoon character. I have had so much anxiety over this! I am ready for the fade! I have to work tomorrow and I am not excited to be seen with these. My male coworkers like to playfully pick on each other and i am not sure I can take that right now. Can’t believe how tearful I have been over dang eyebrows! My technician has been so sweet and reassuring, reminding me to trust the process!
Thank you for sharing. I have done my microblading 2 weeks ago and it still looks not good. When I did it I couldnt decide between microblading and powder brows. Now Im very upset with my brows. I hope the result turns out better then now.
xoxo
Tina
Thank you!!! Just got done my microblading today and was searching some information of using the rose ointment from young living instead of bepanthen or other ointment based on petrolatum :/
Also, I’m more relax now that I’ve seen the progress.
Greeting from Mx.
I was finally starting to love my brows then I got the touch up and now their soooooo dark again. The color was a little uneven and lighter than my actual brow hair so she made them a tad darker and now I’m afraid they will stay this dark..
Thank you so much! Really needed to read this- have been freaking out since I had them done. Feeling a little calmer now! I have googled how to reverse microblading so many times and was laughing when I read that in your post! Thank you!!